Makerss Masterclass - Harvest Mouse with Agnese Davies
Welcome to our brand new Makerss Masterclass Series!
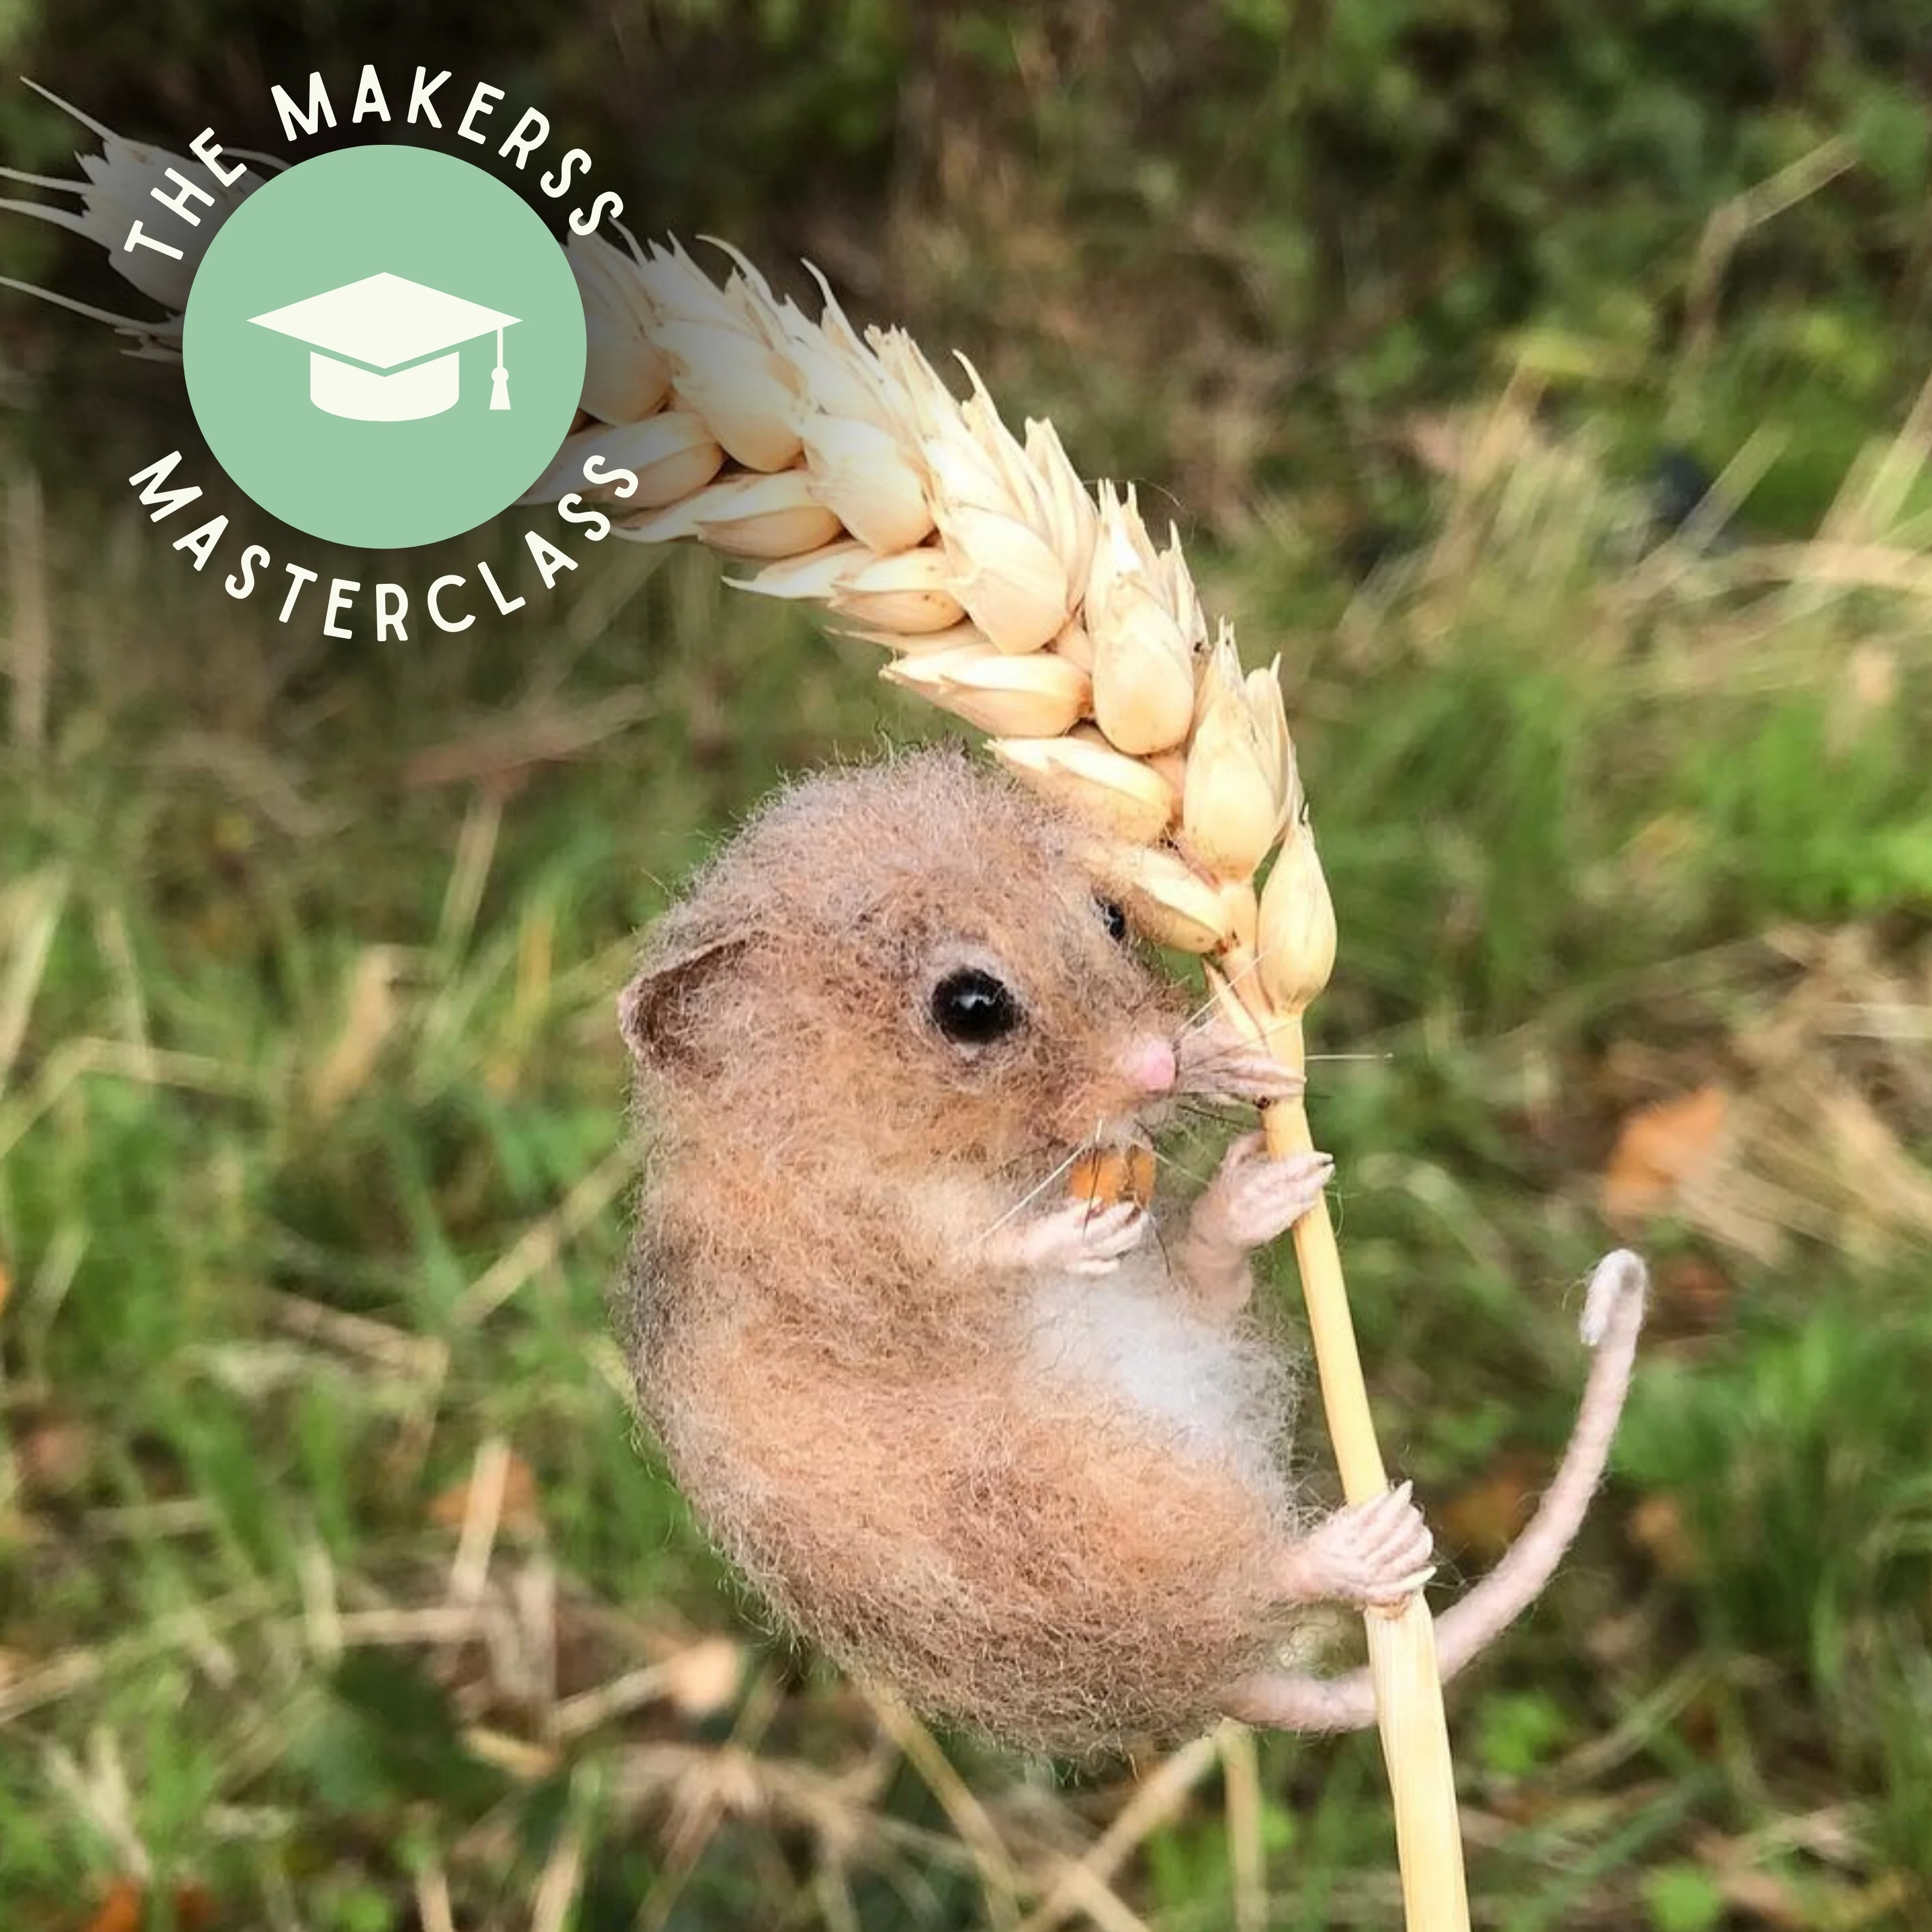
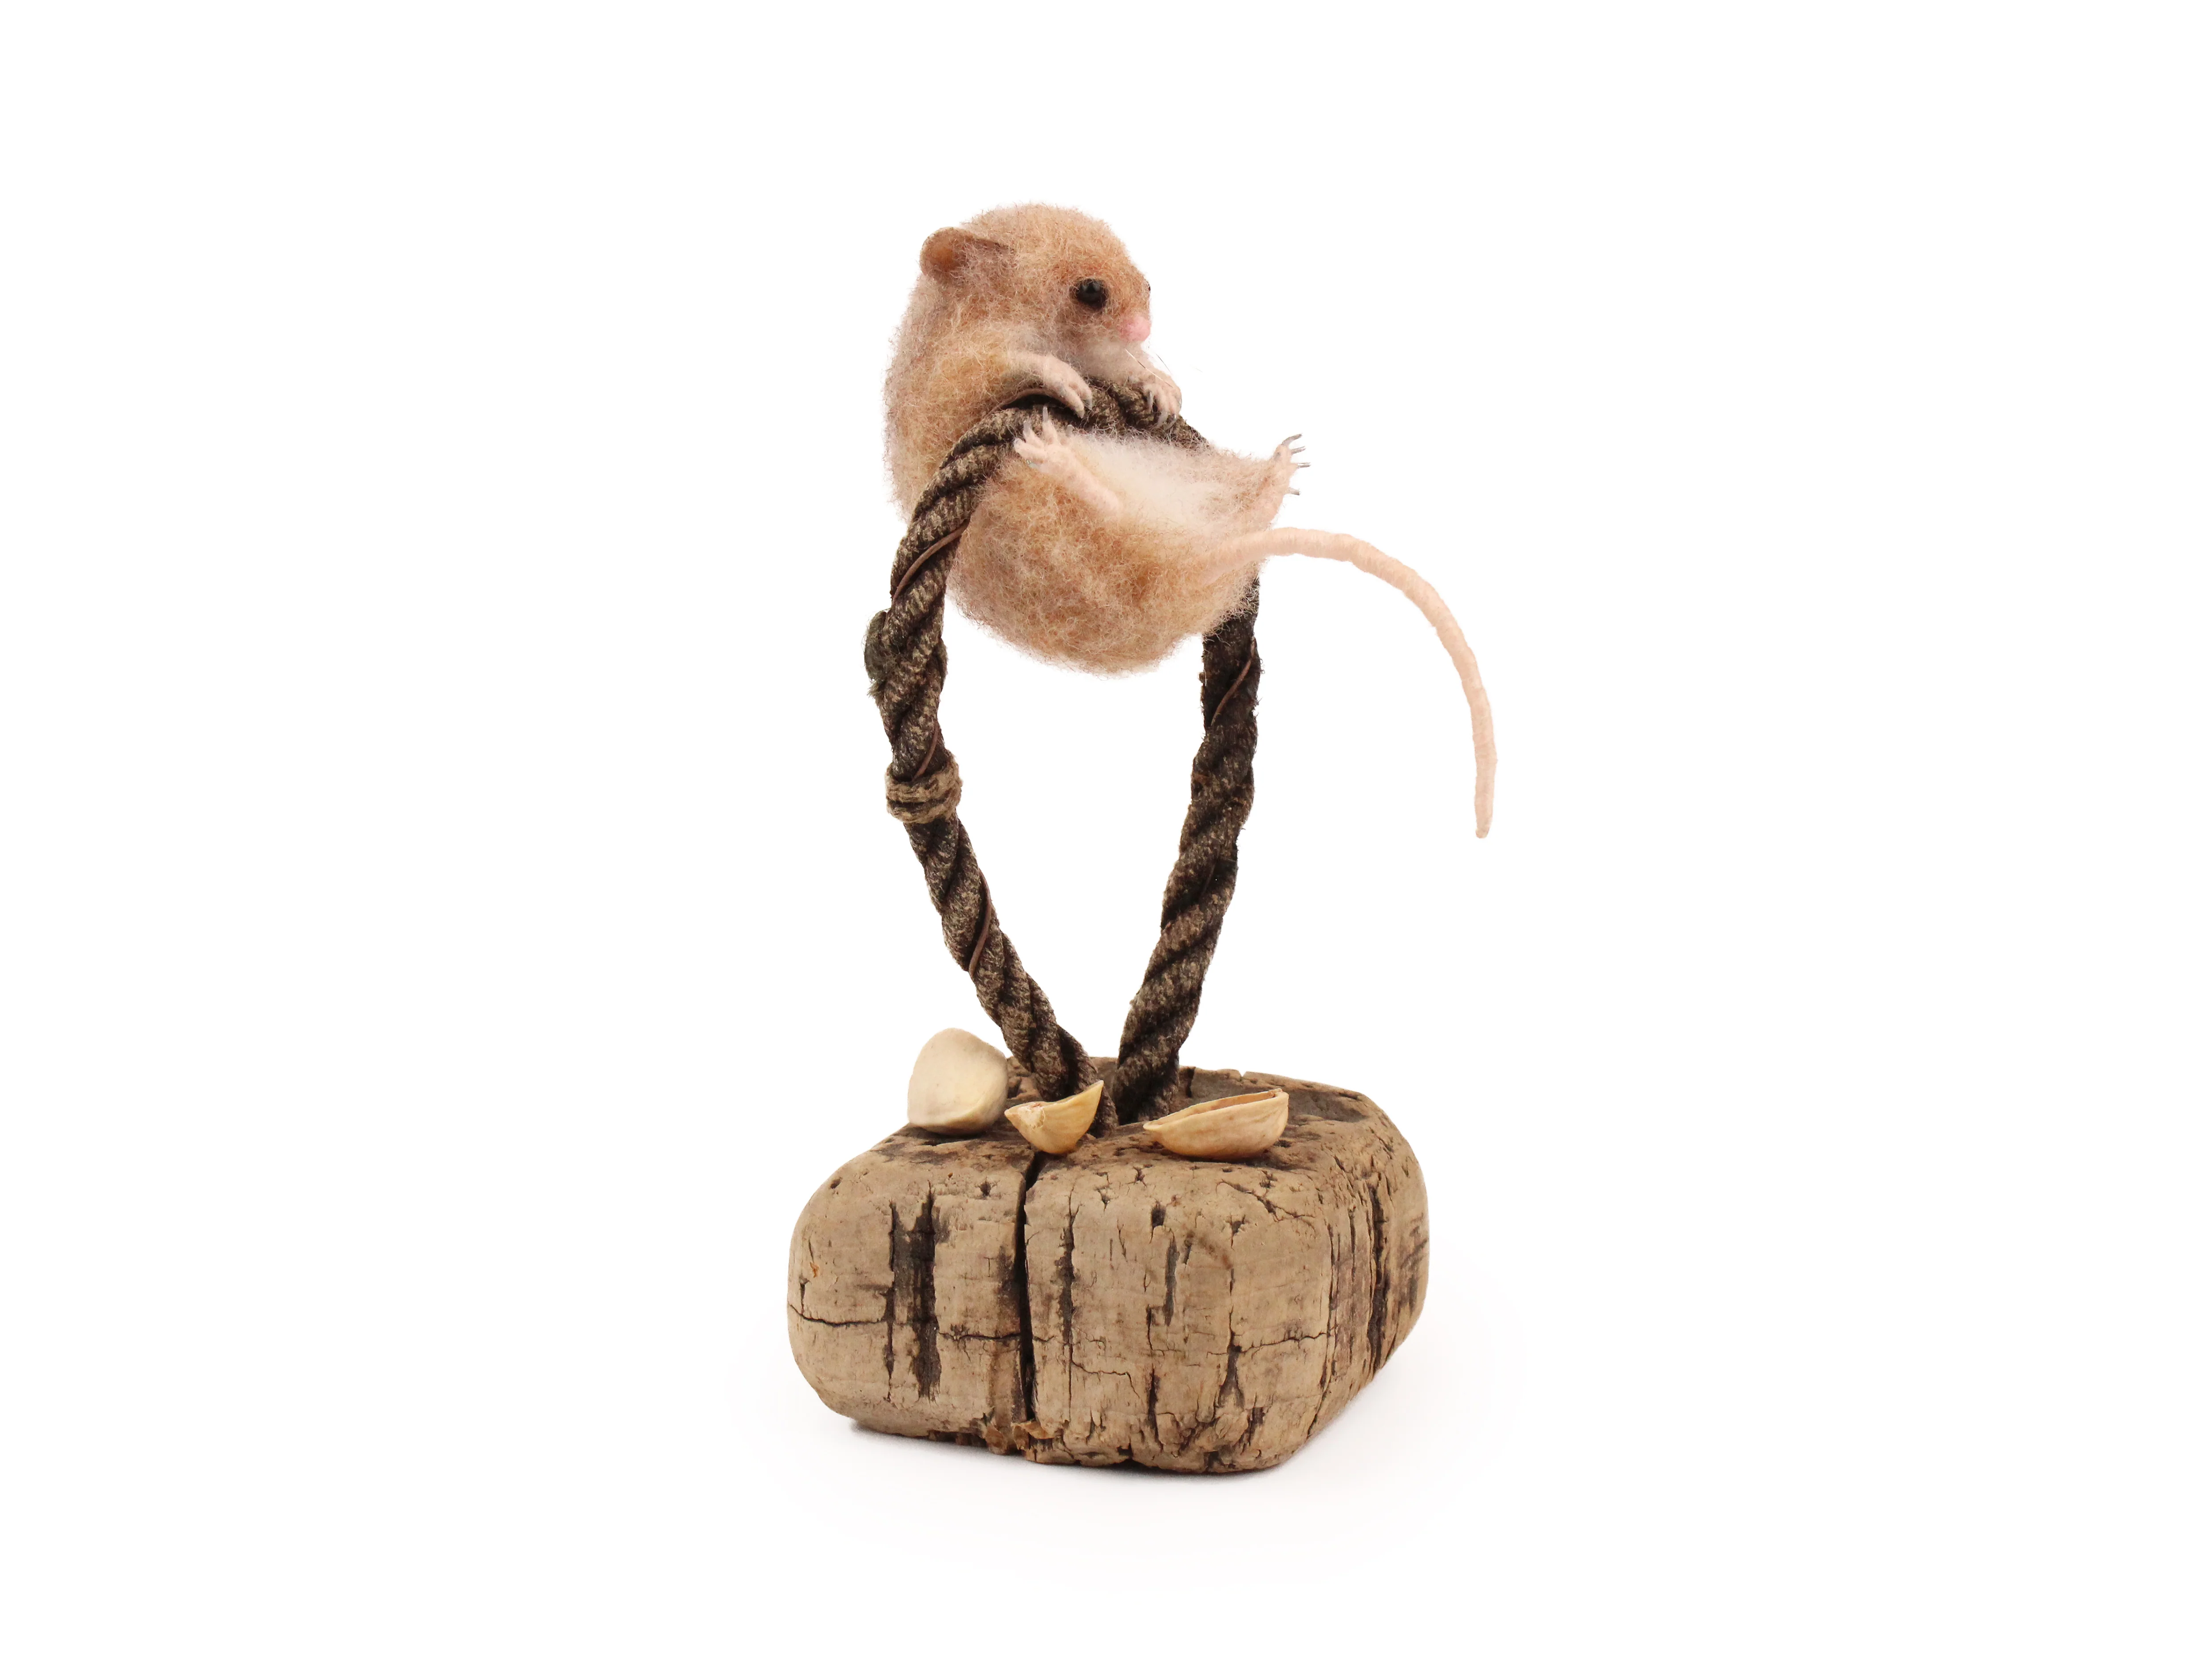
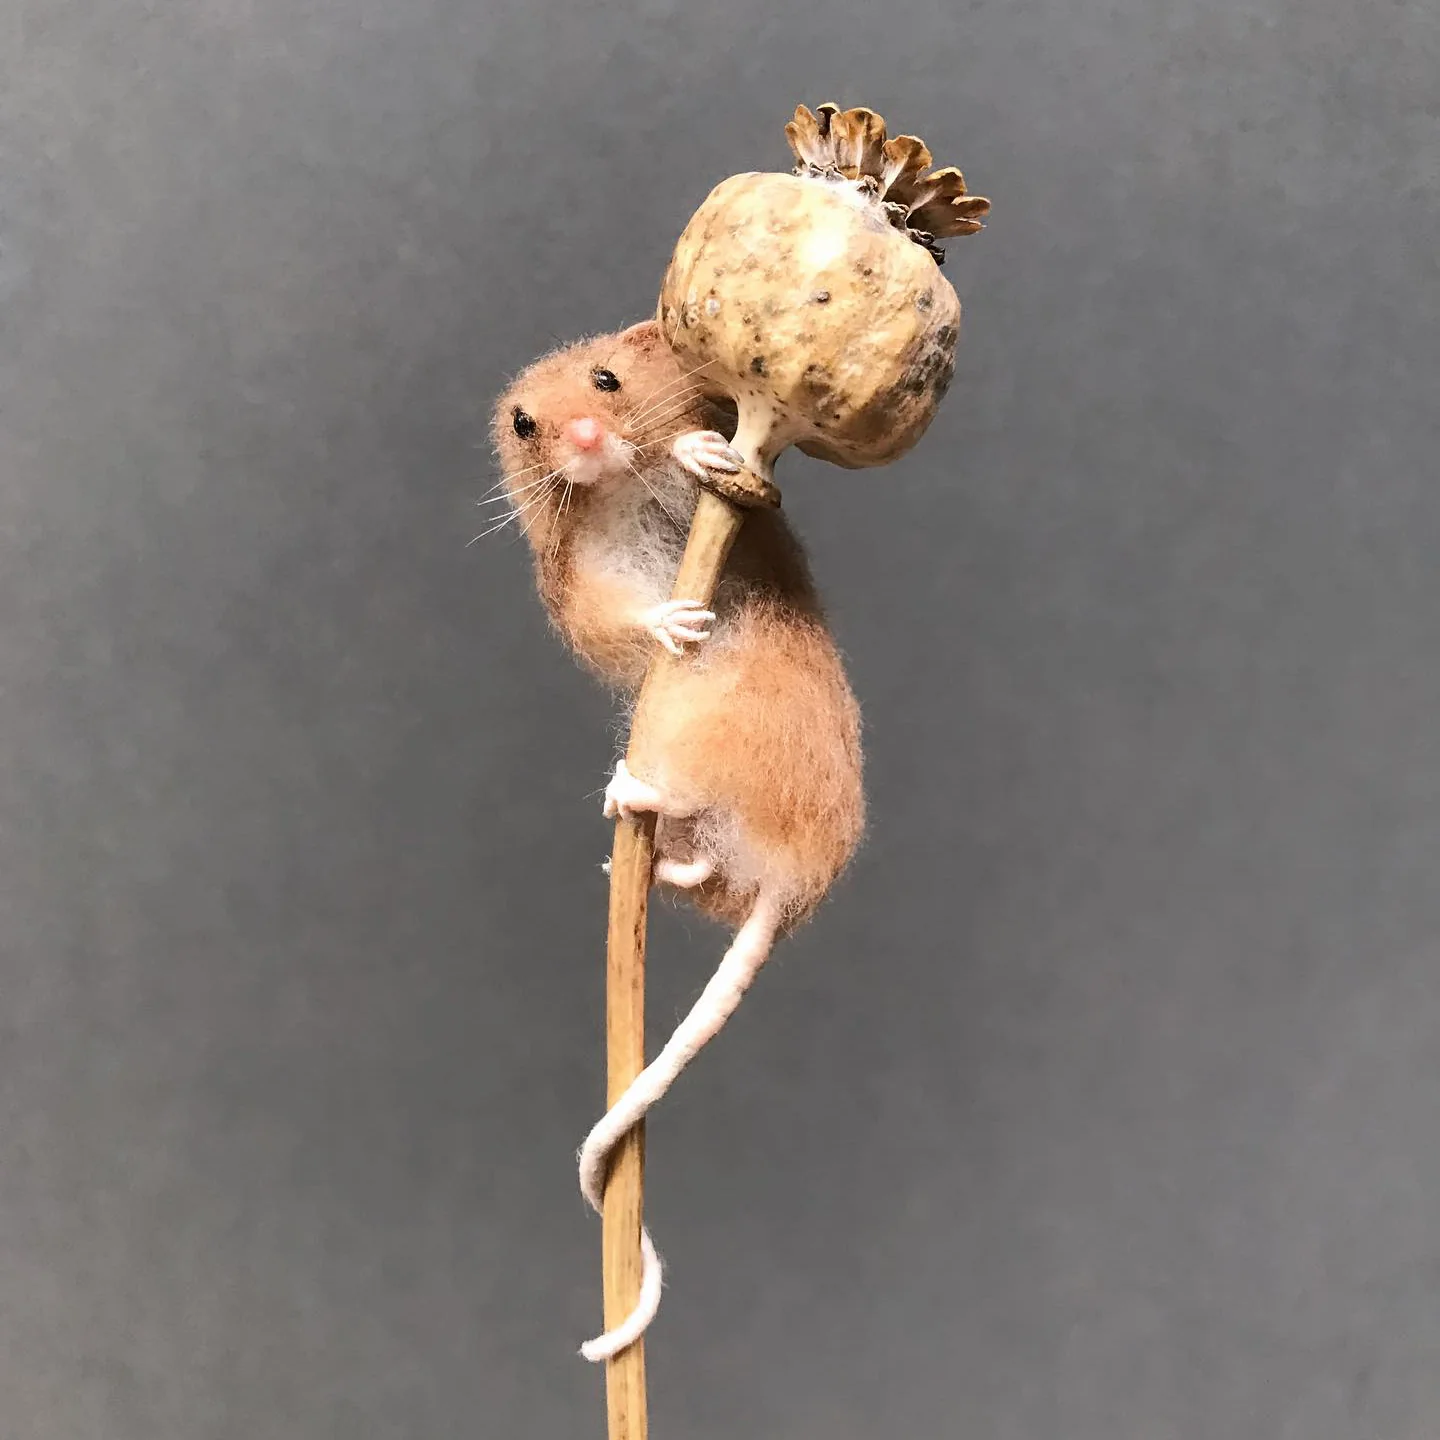
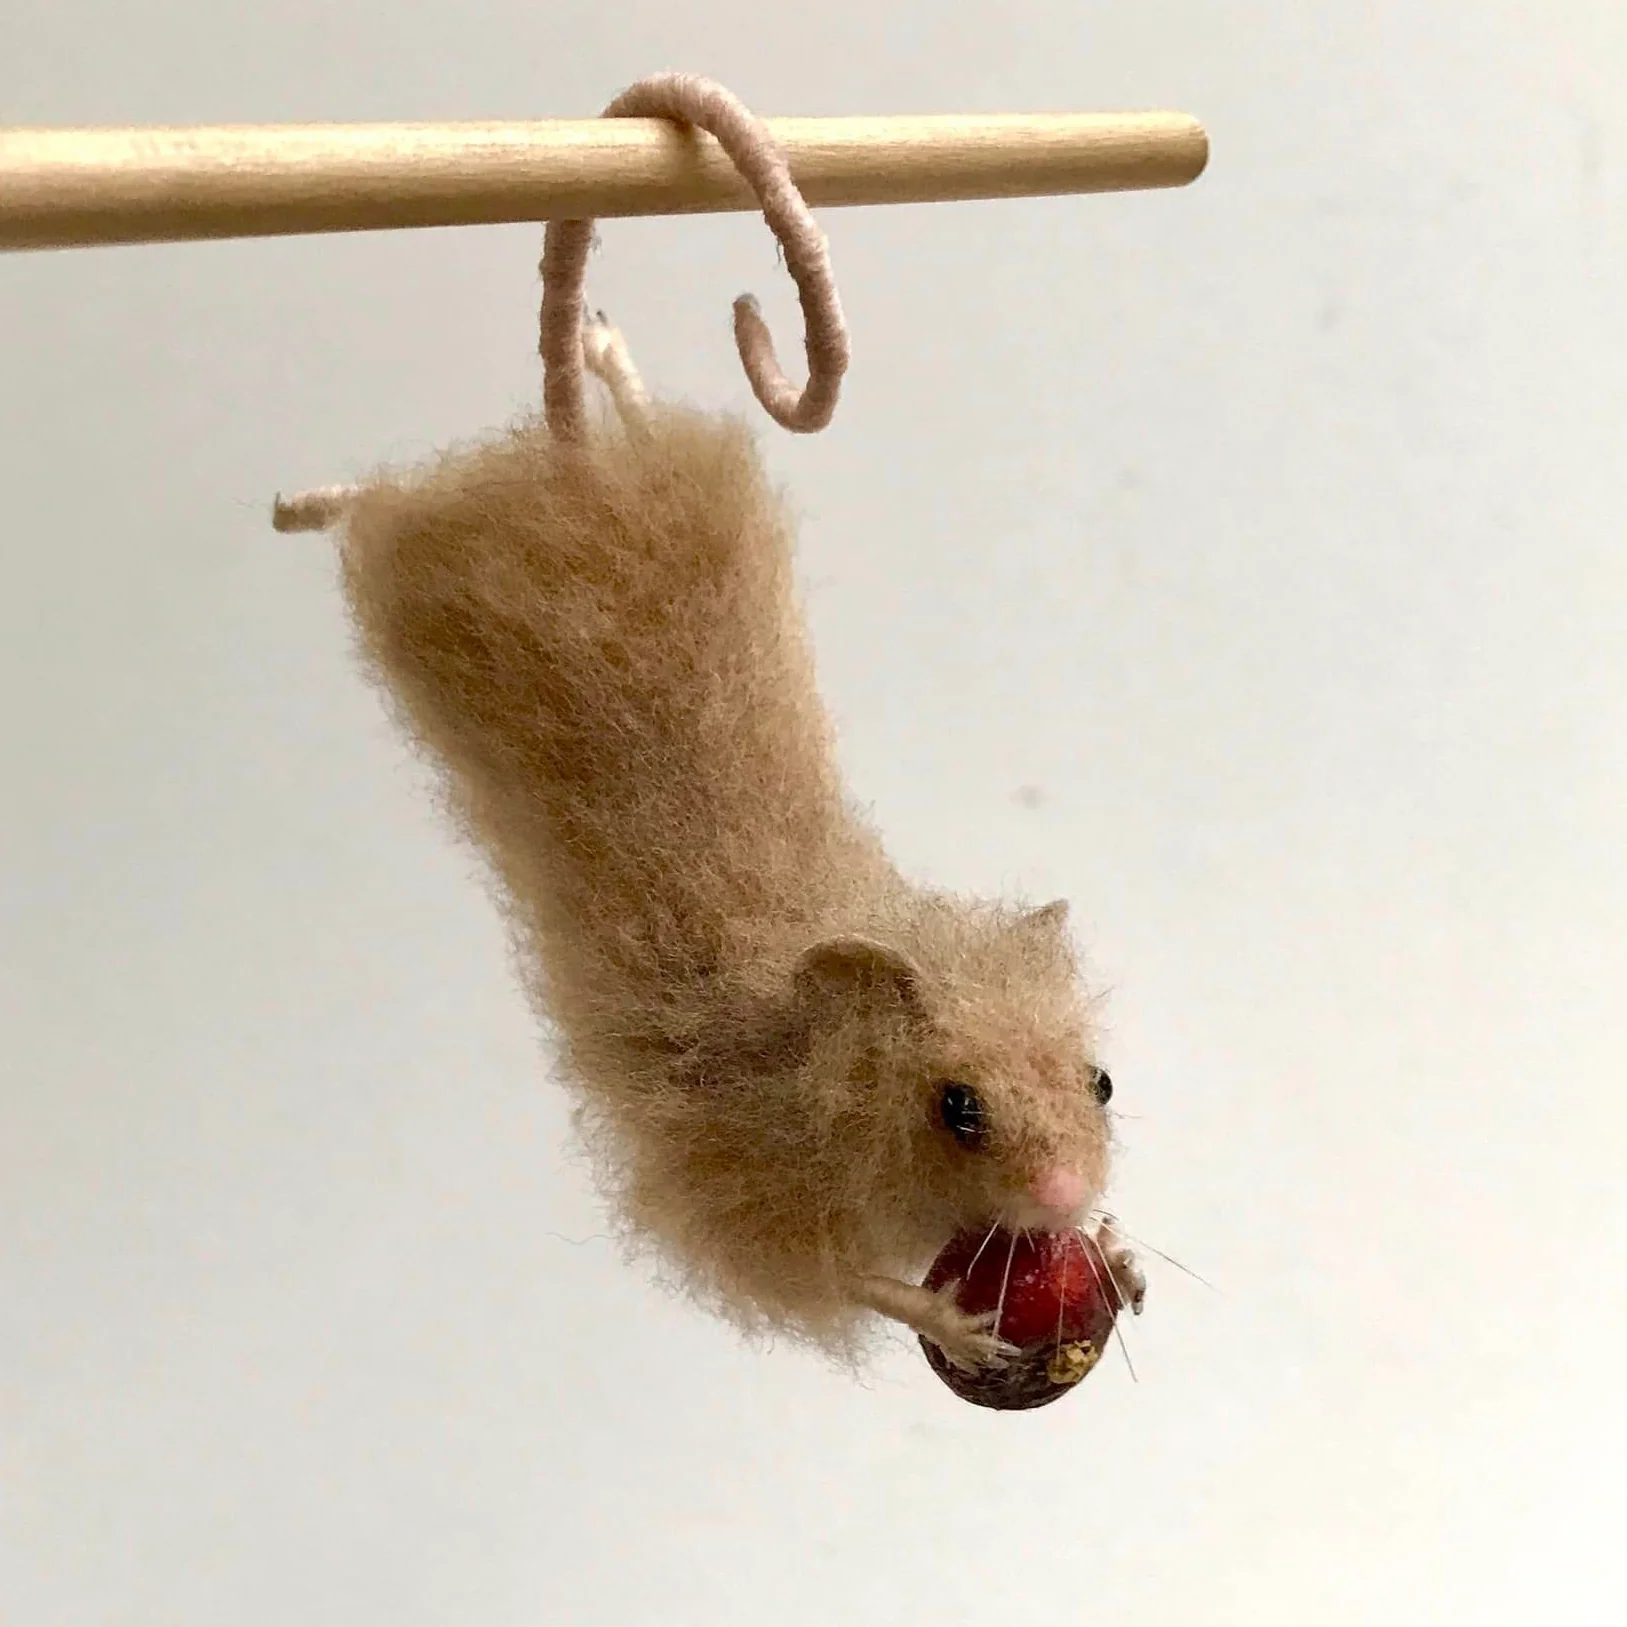
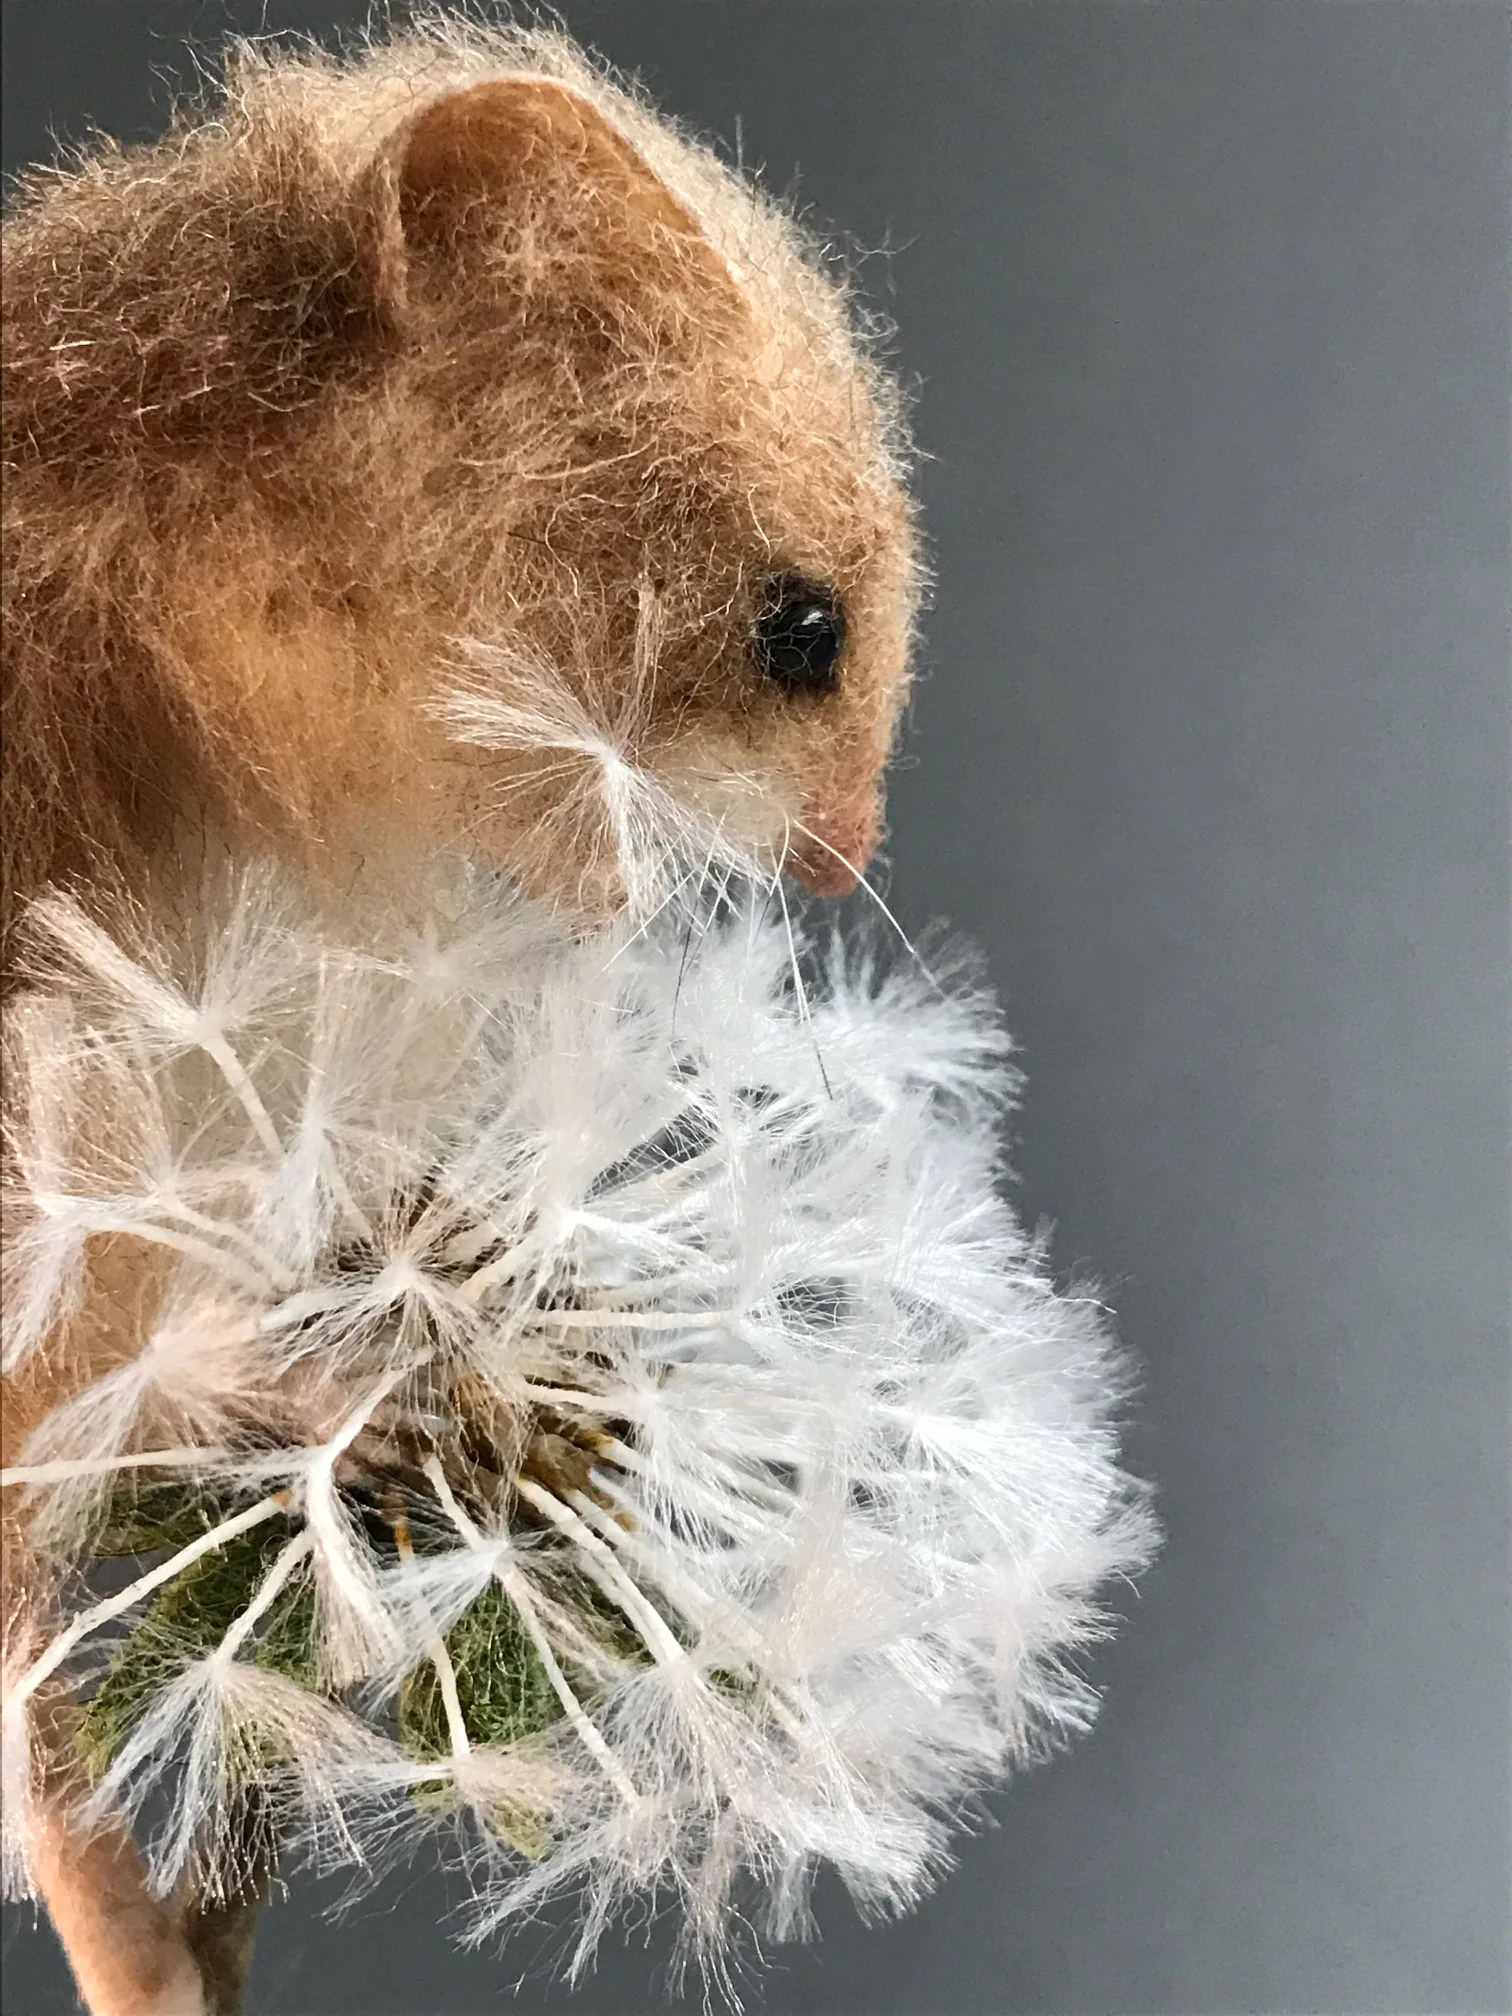
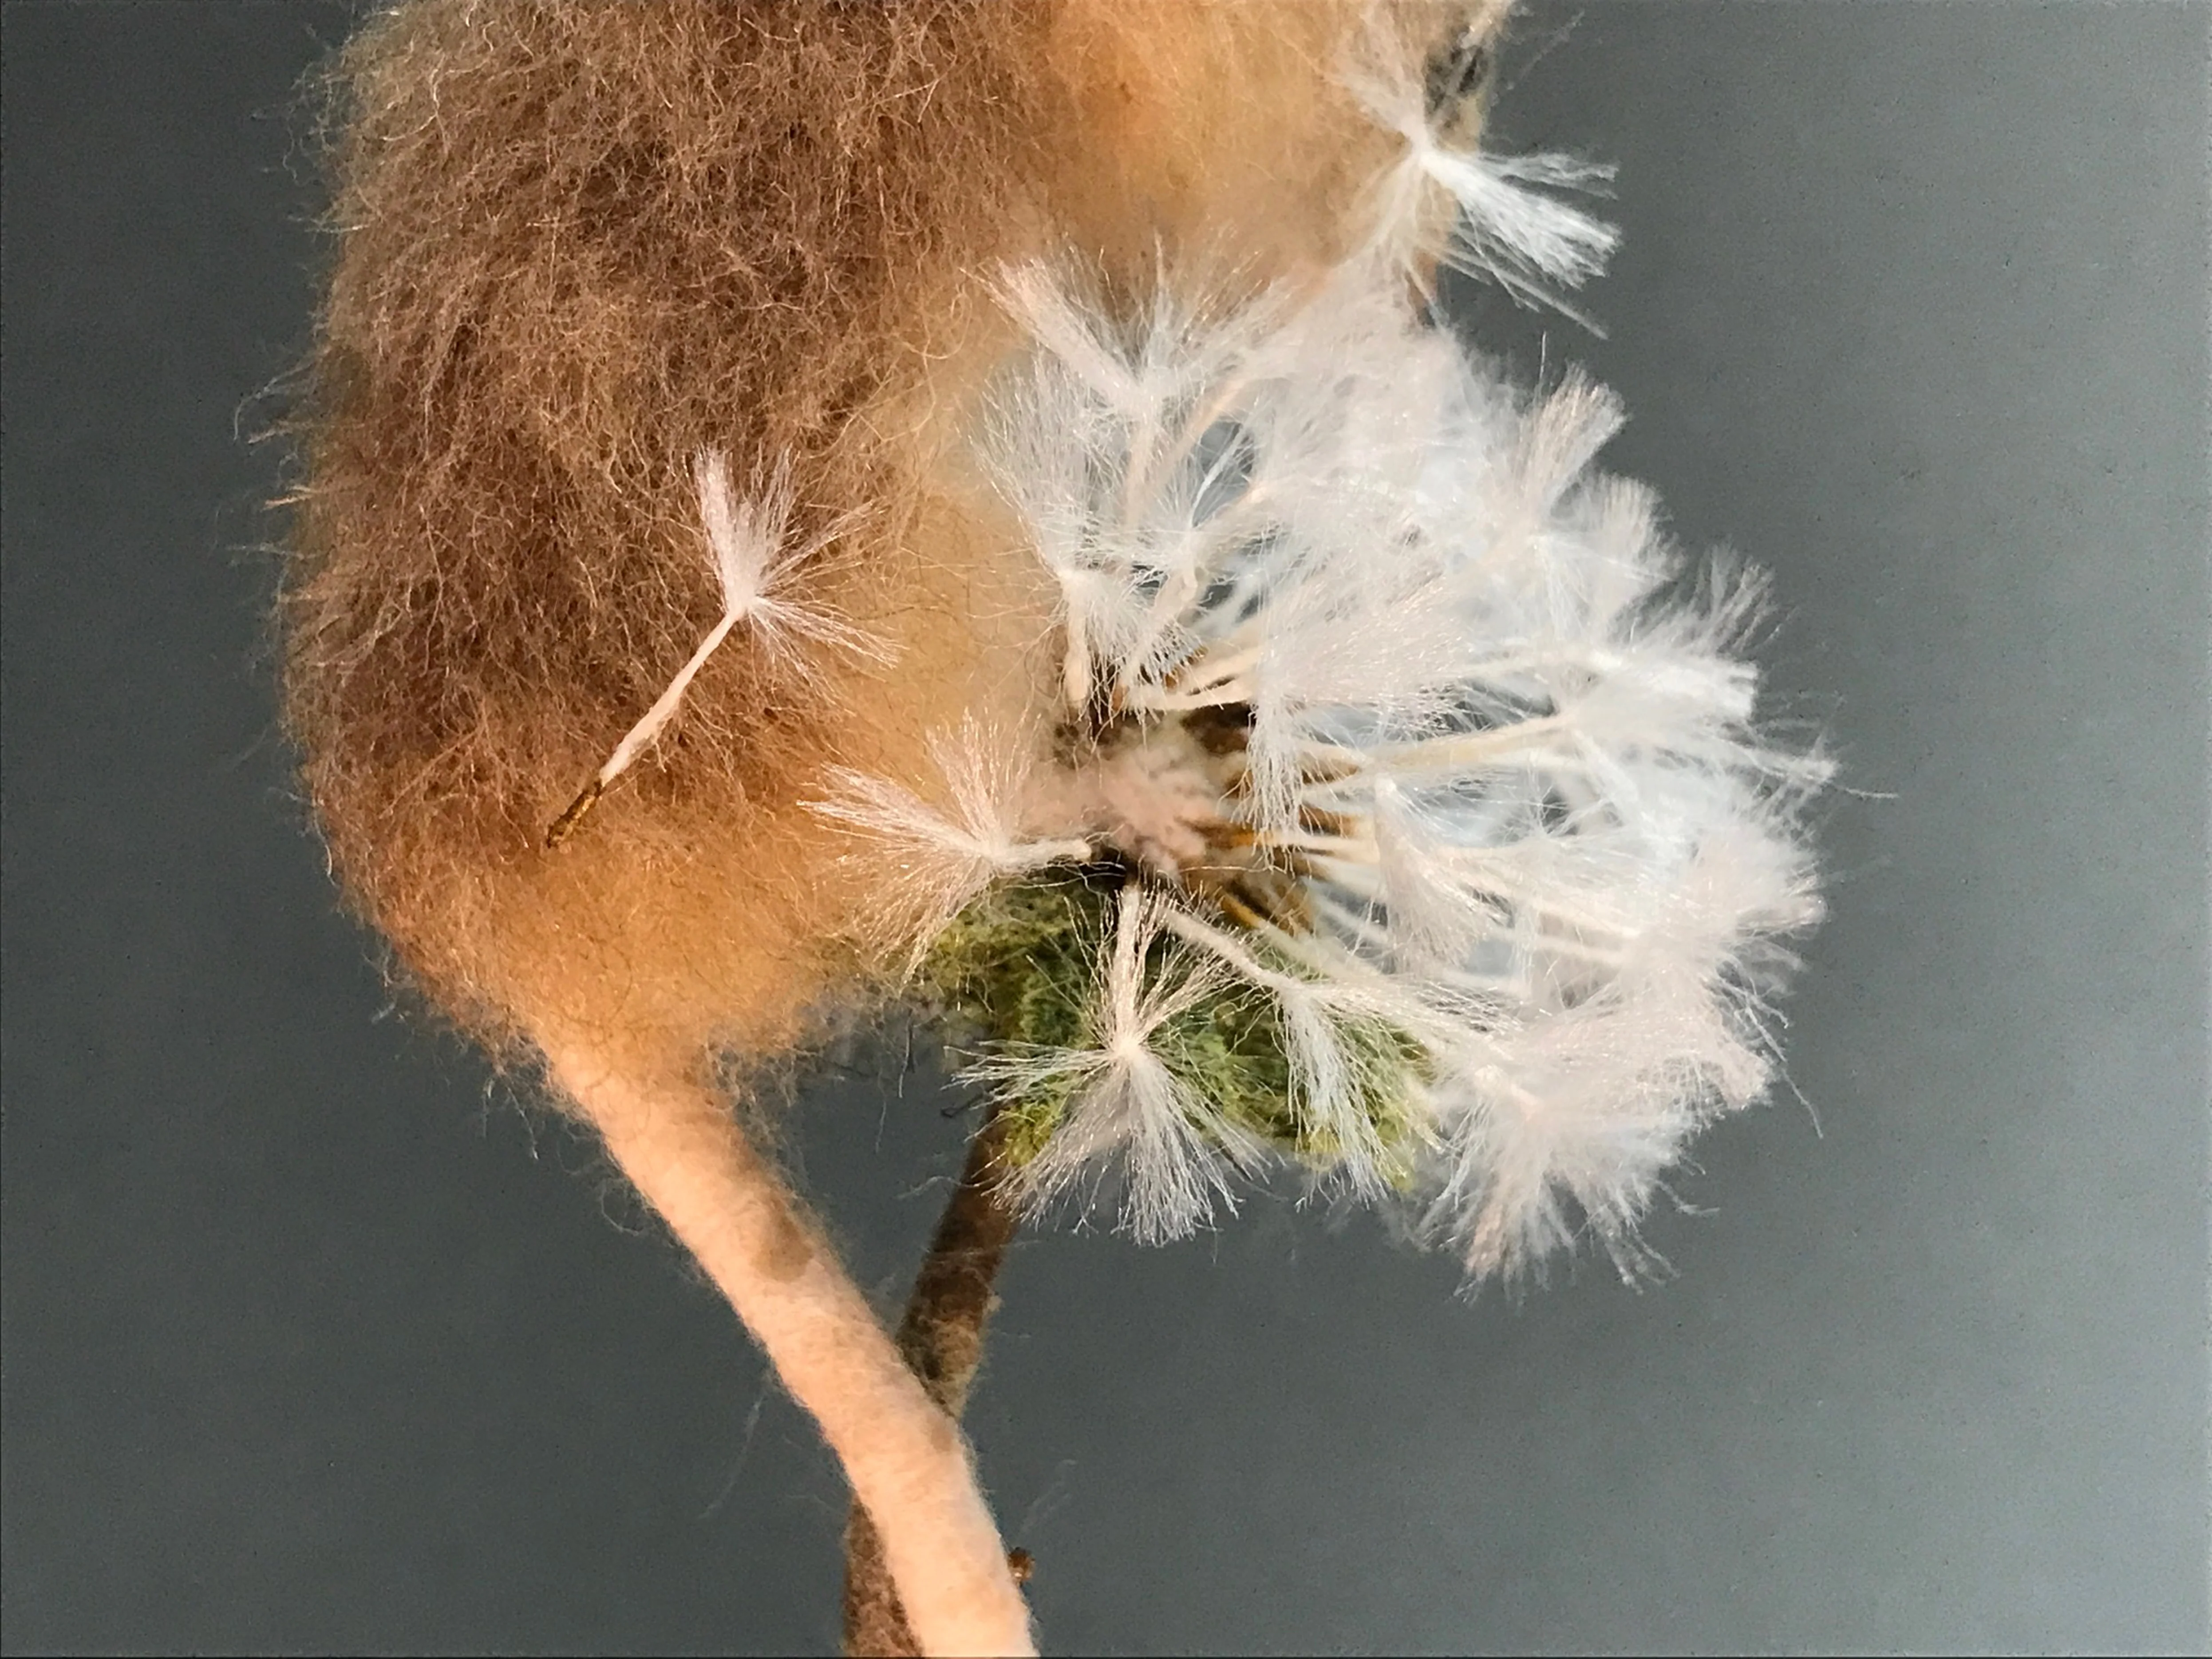
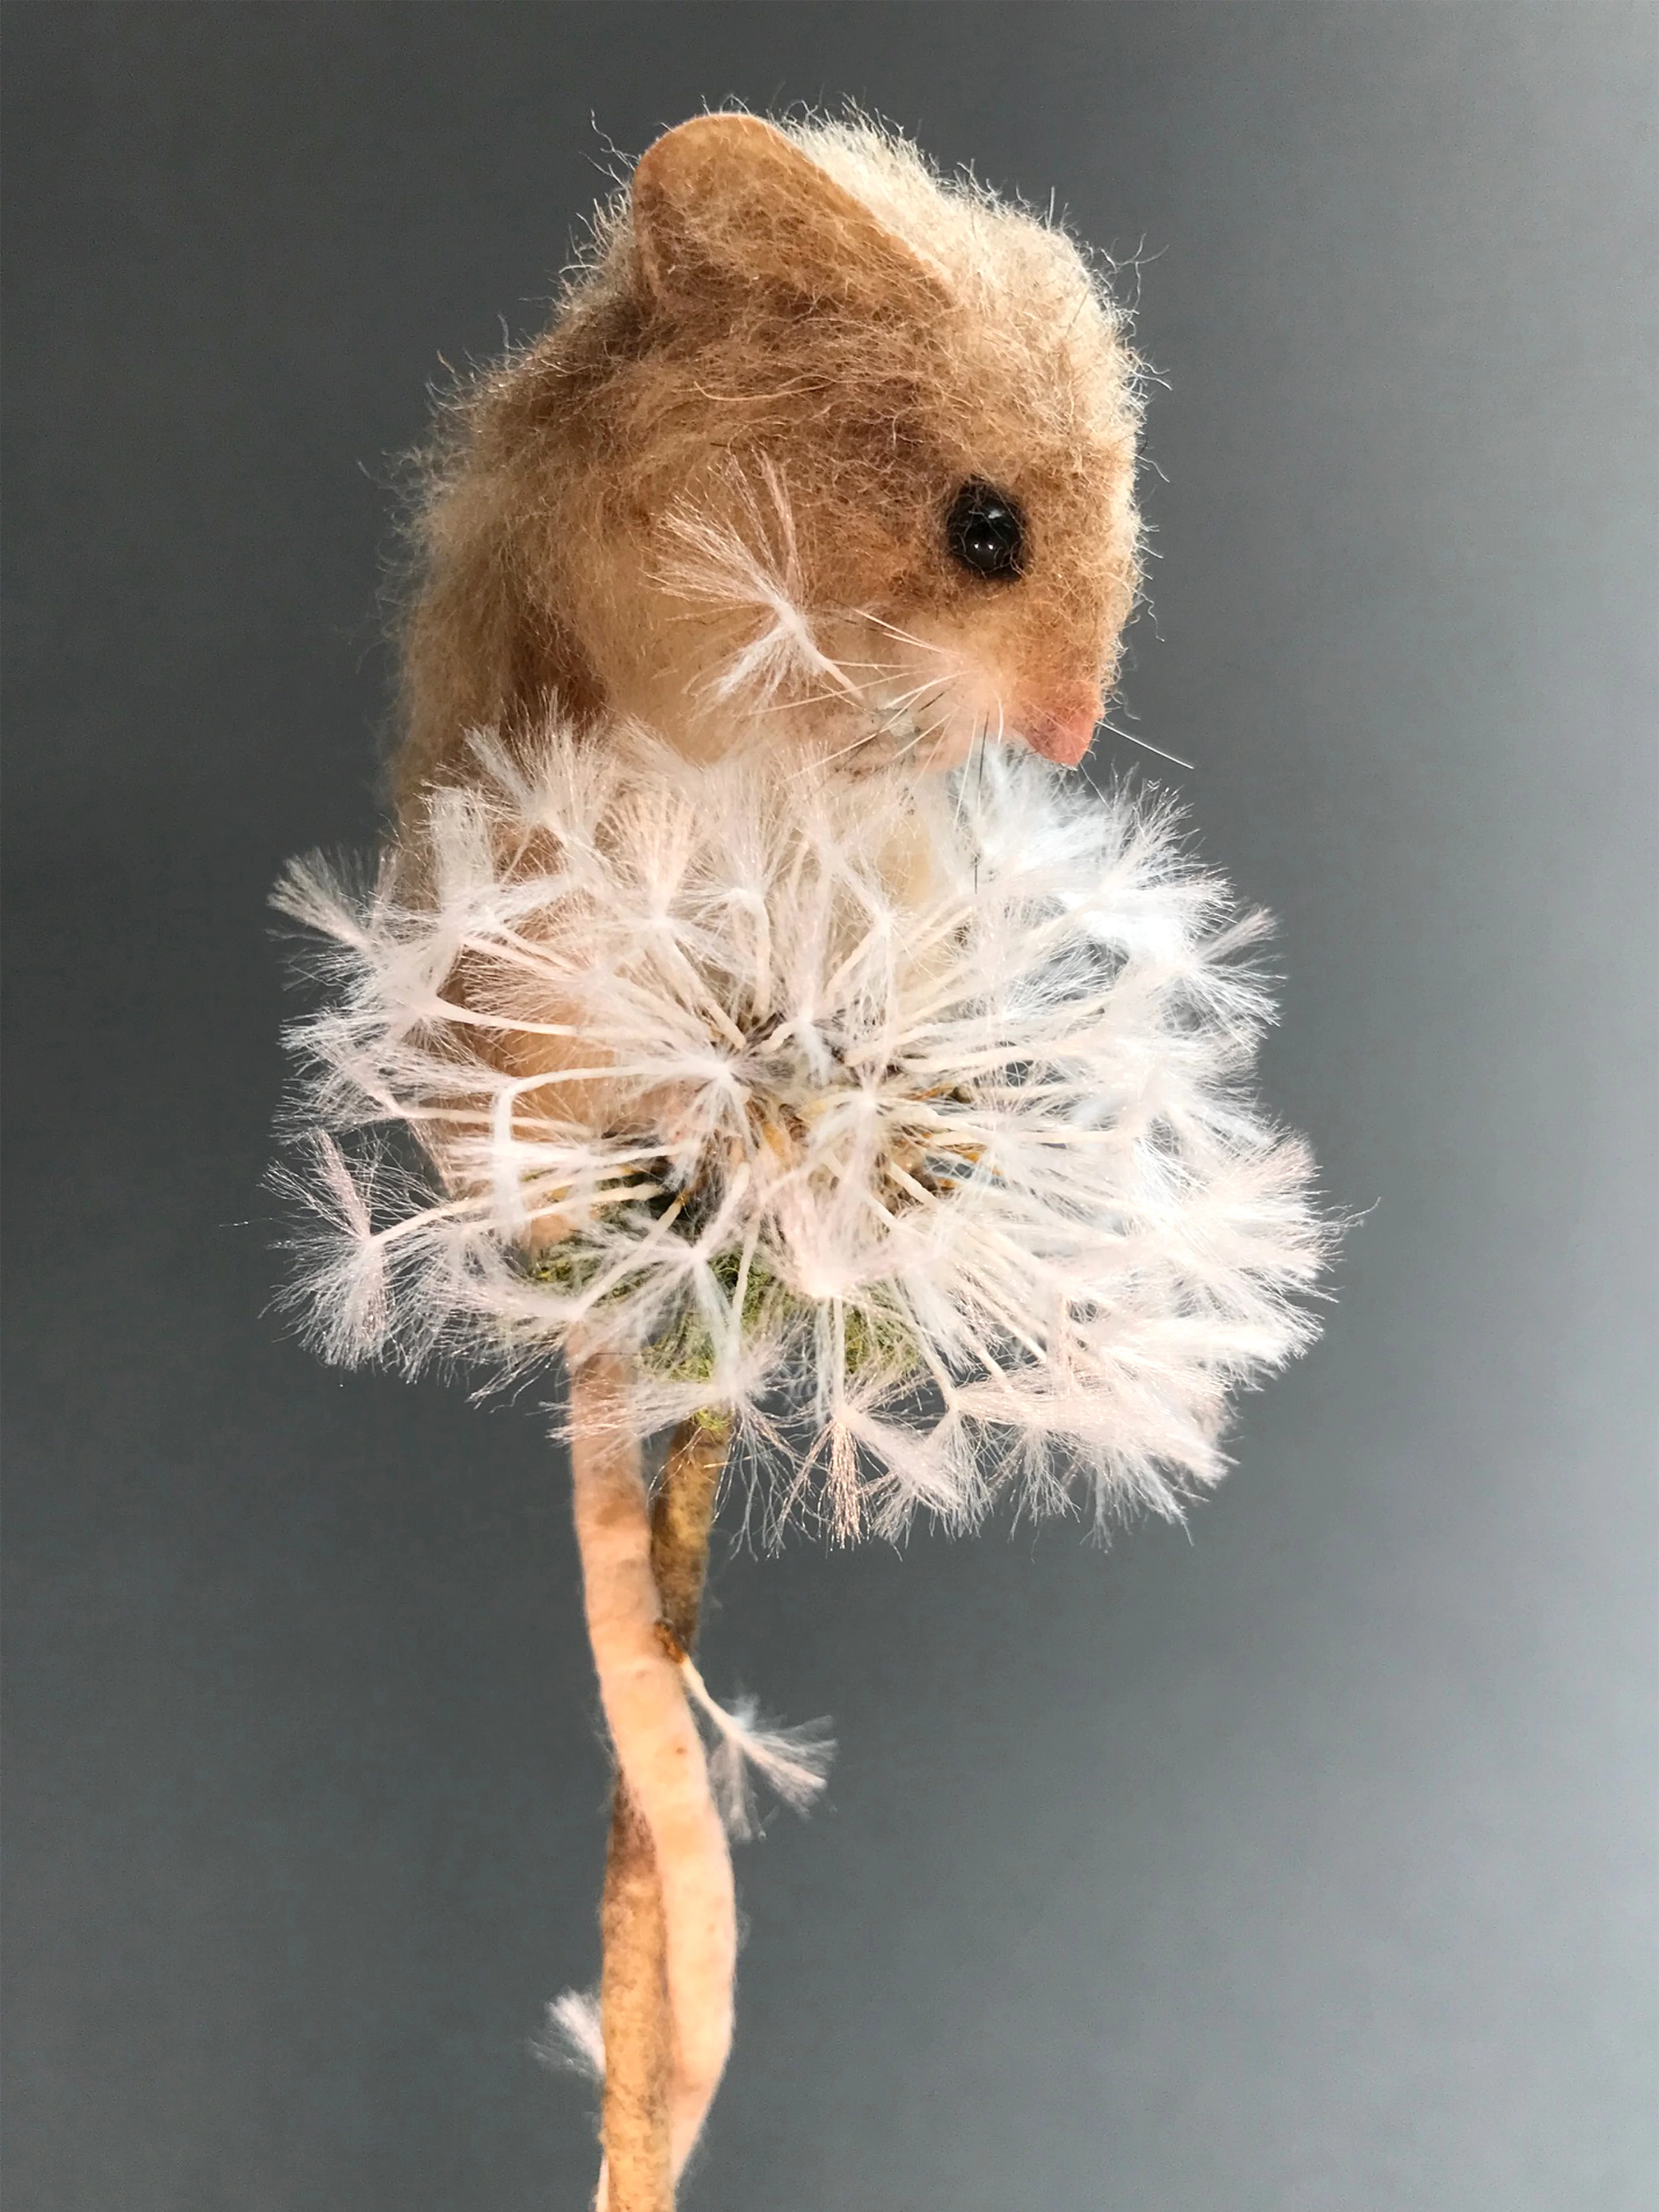
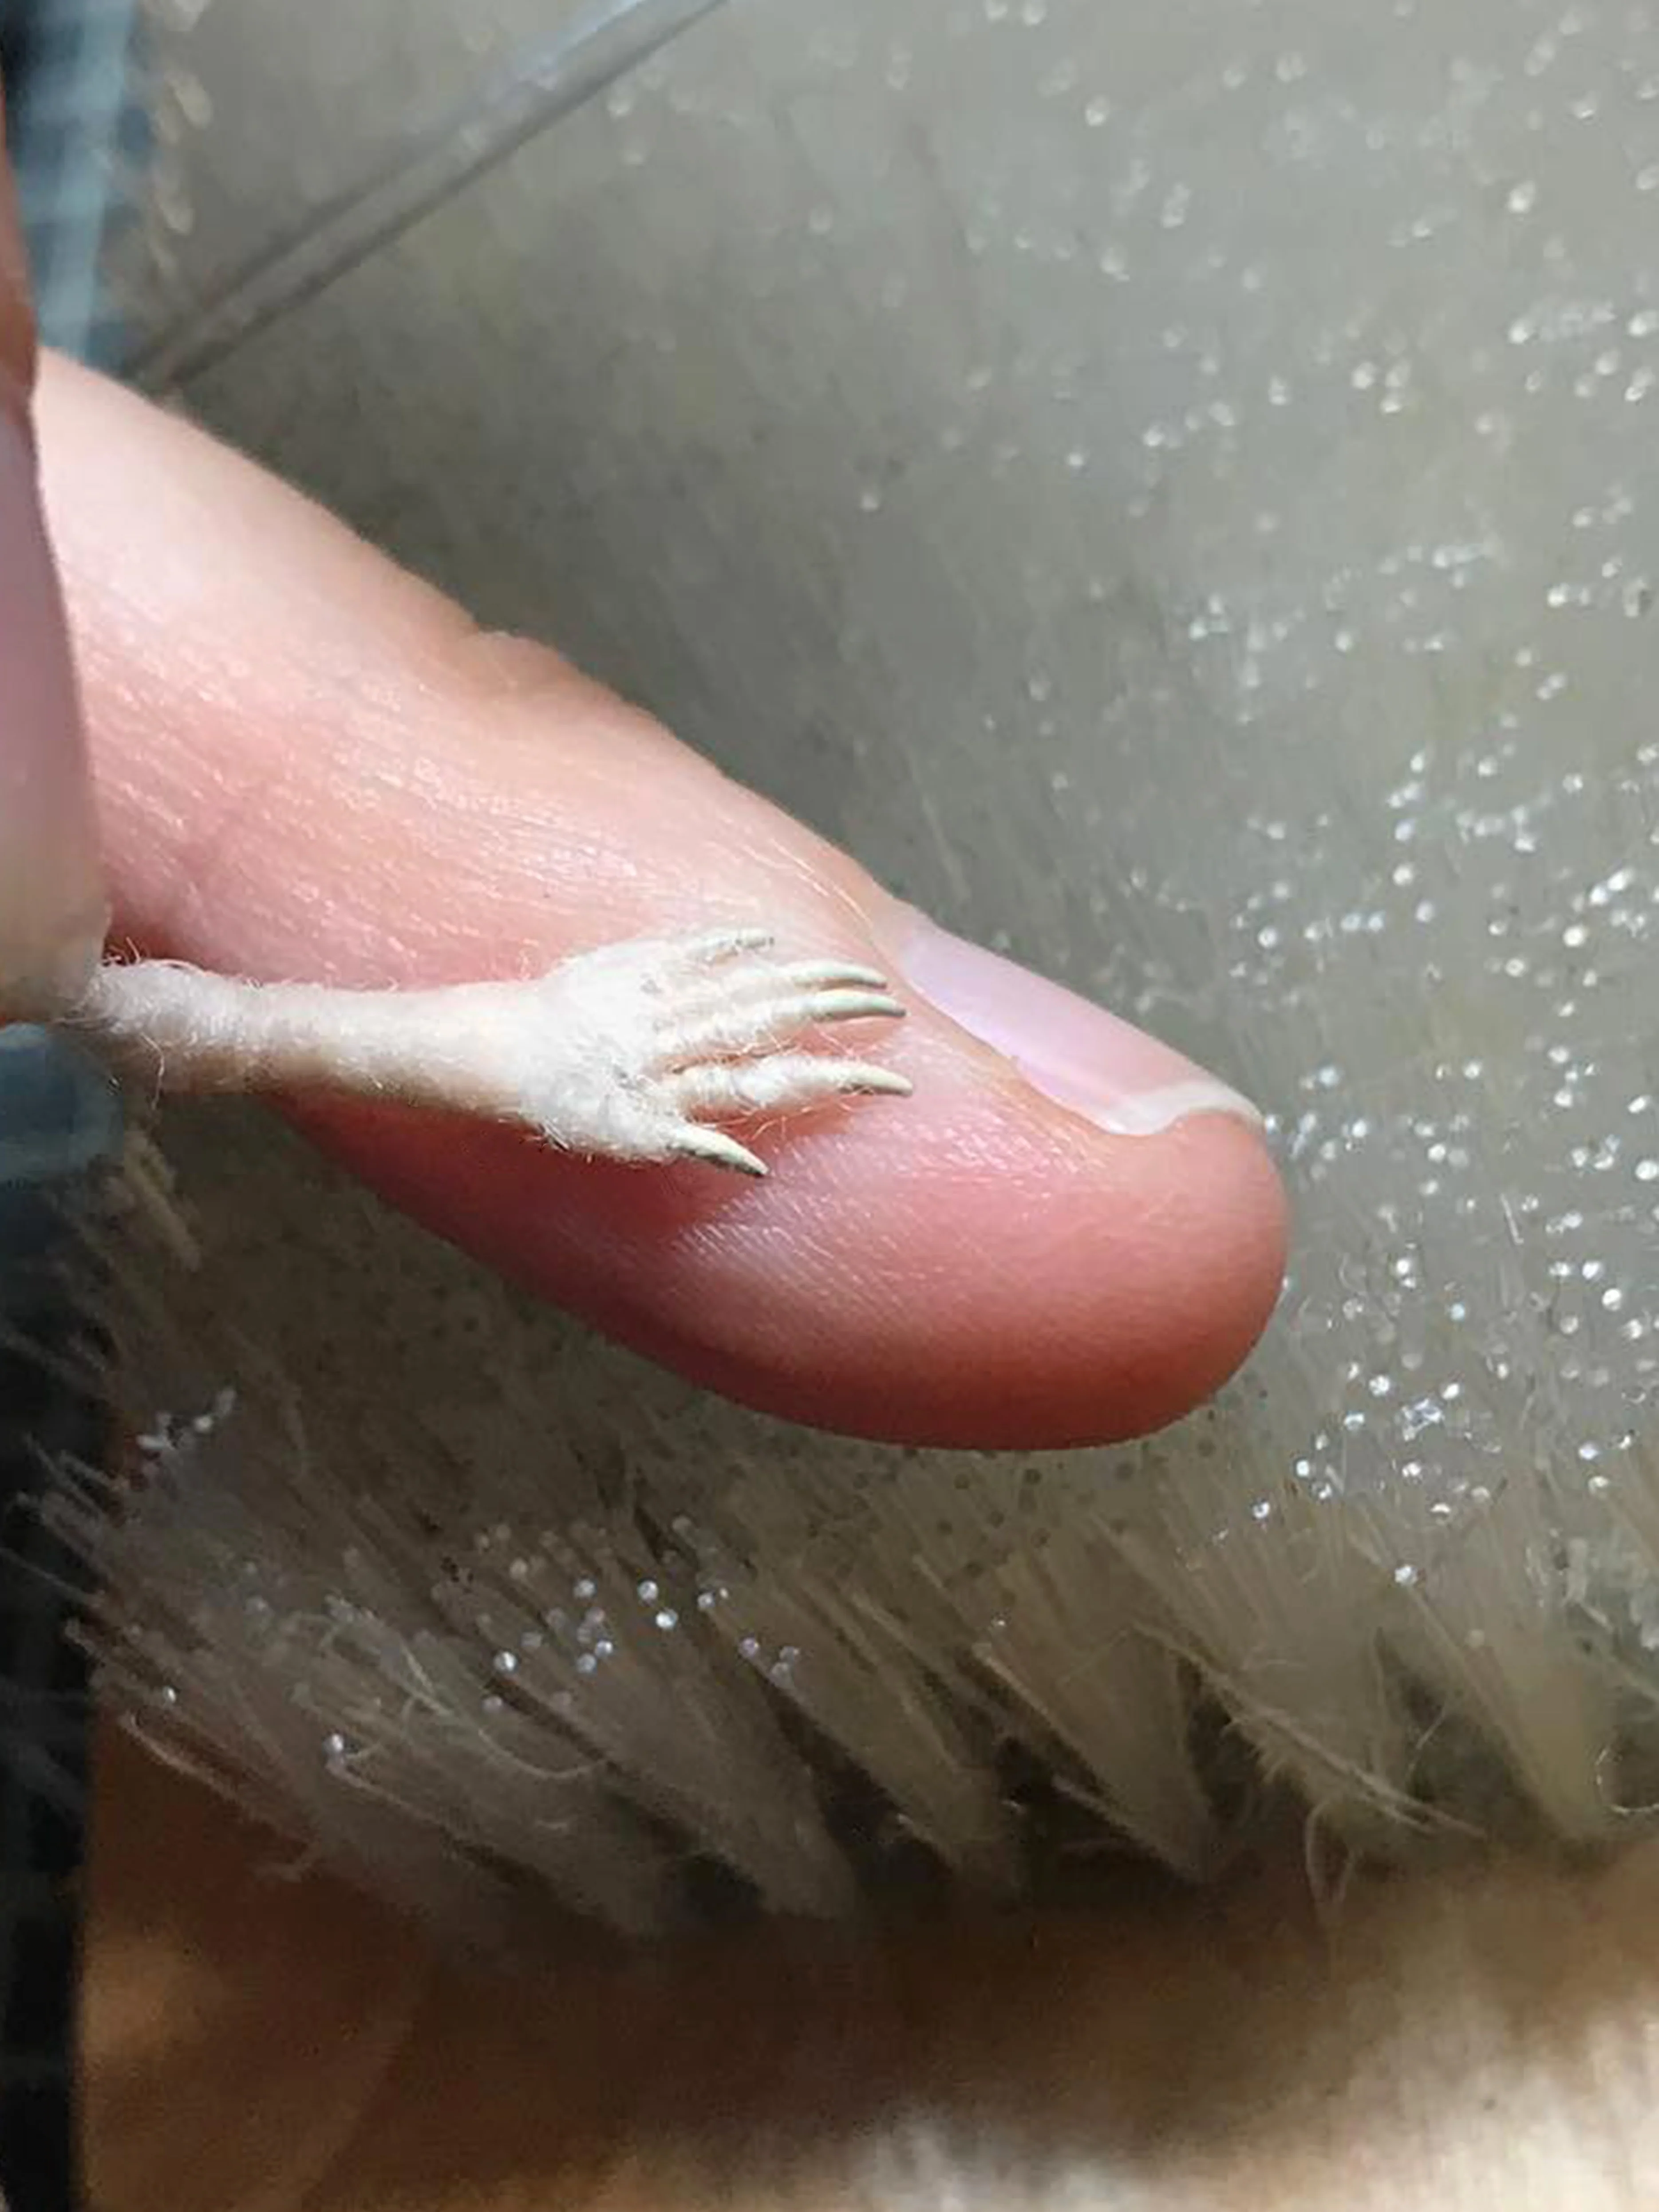
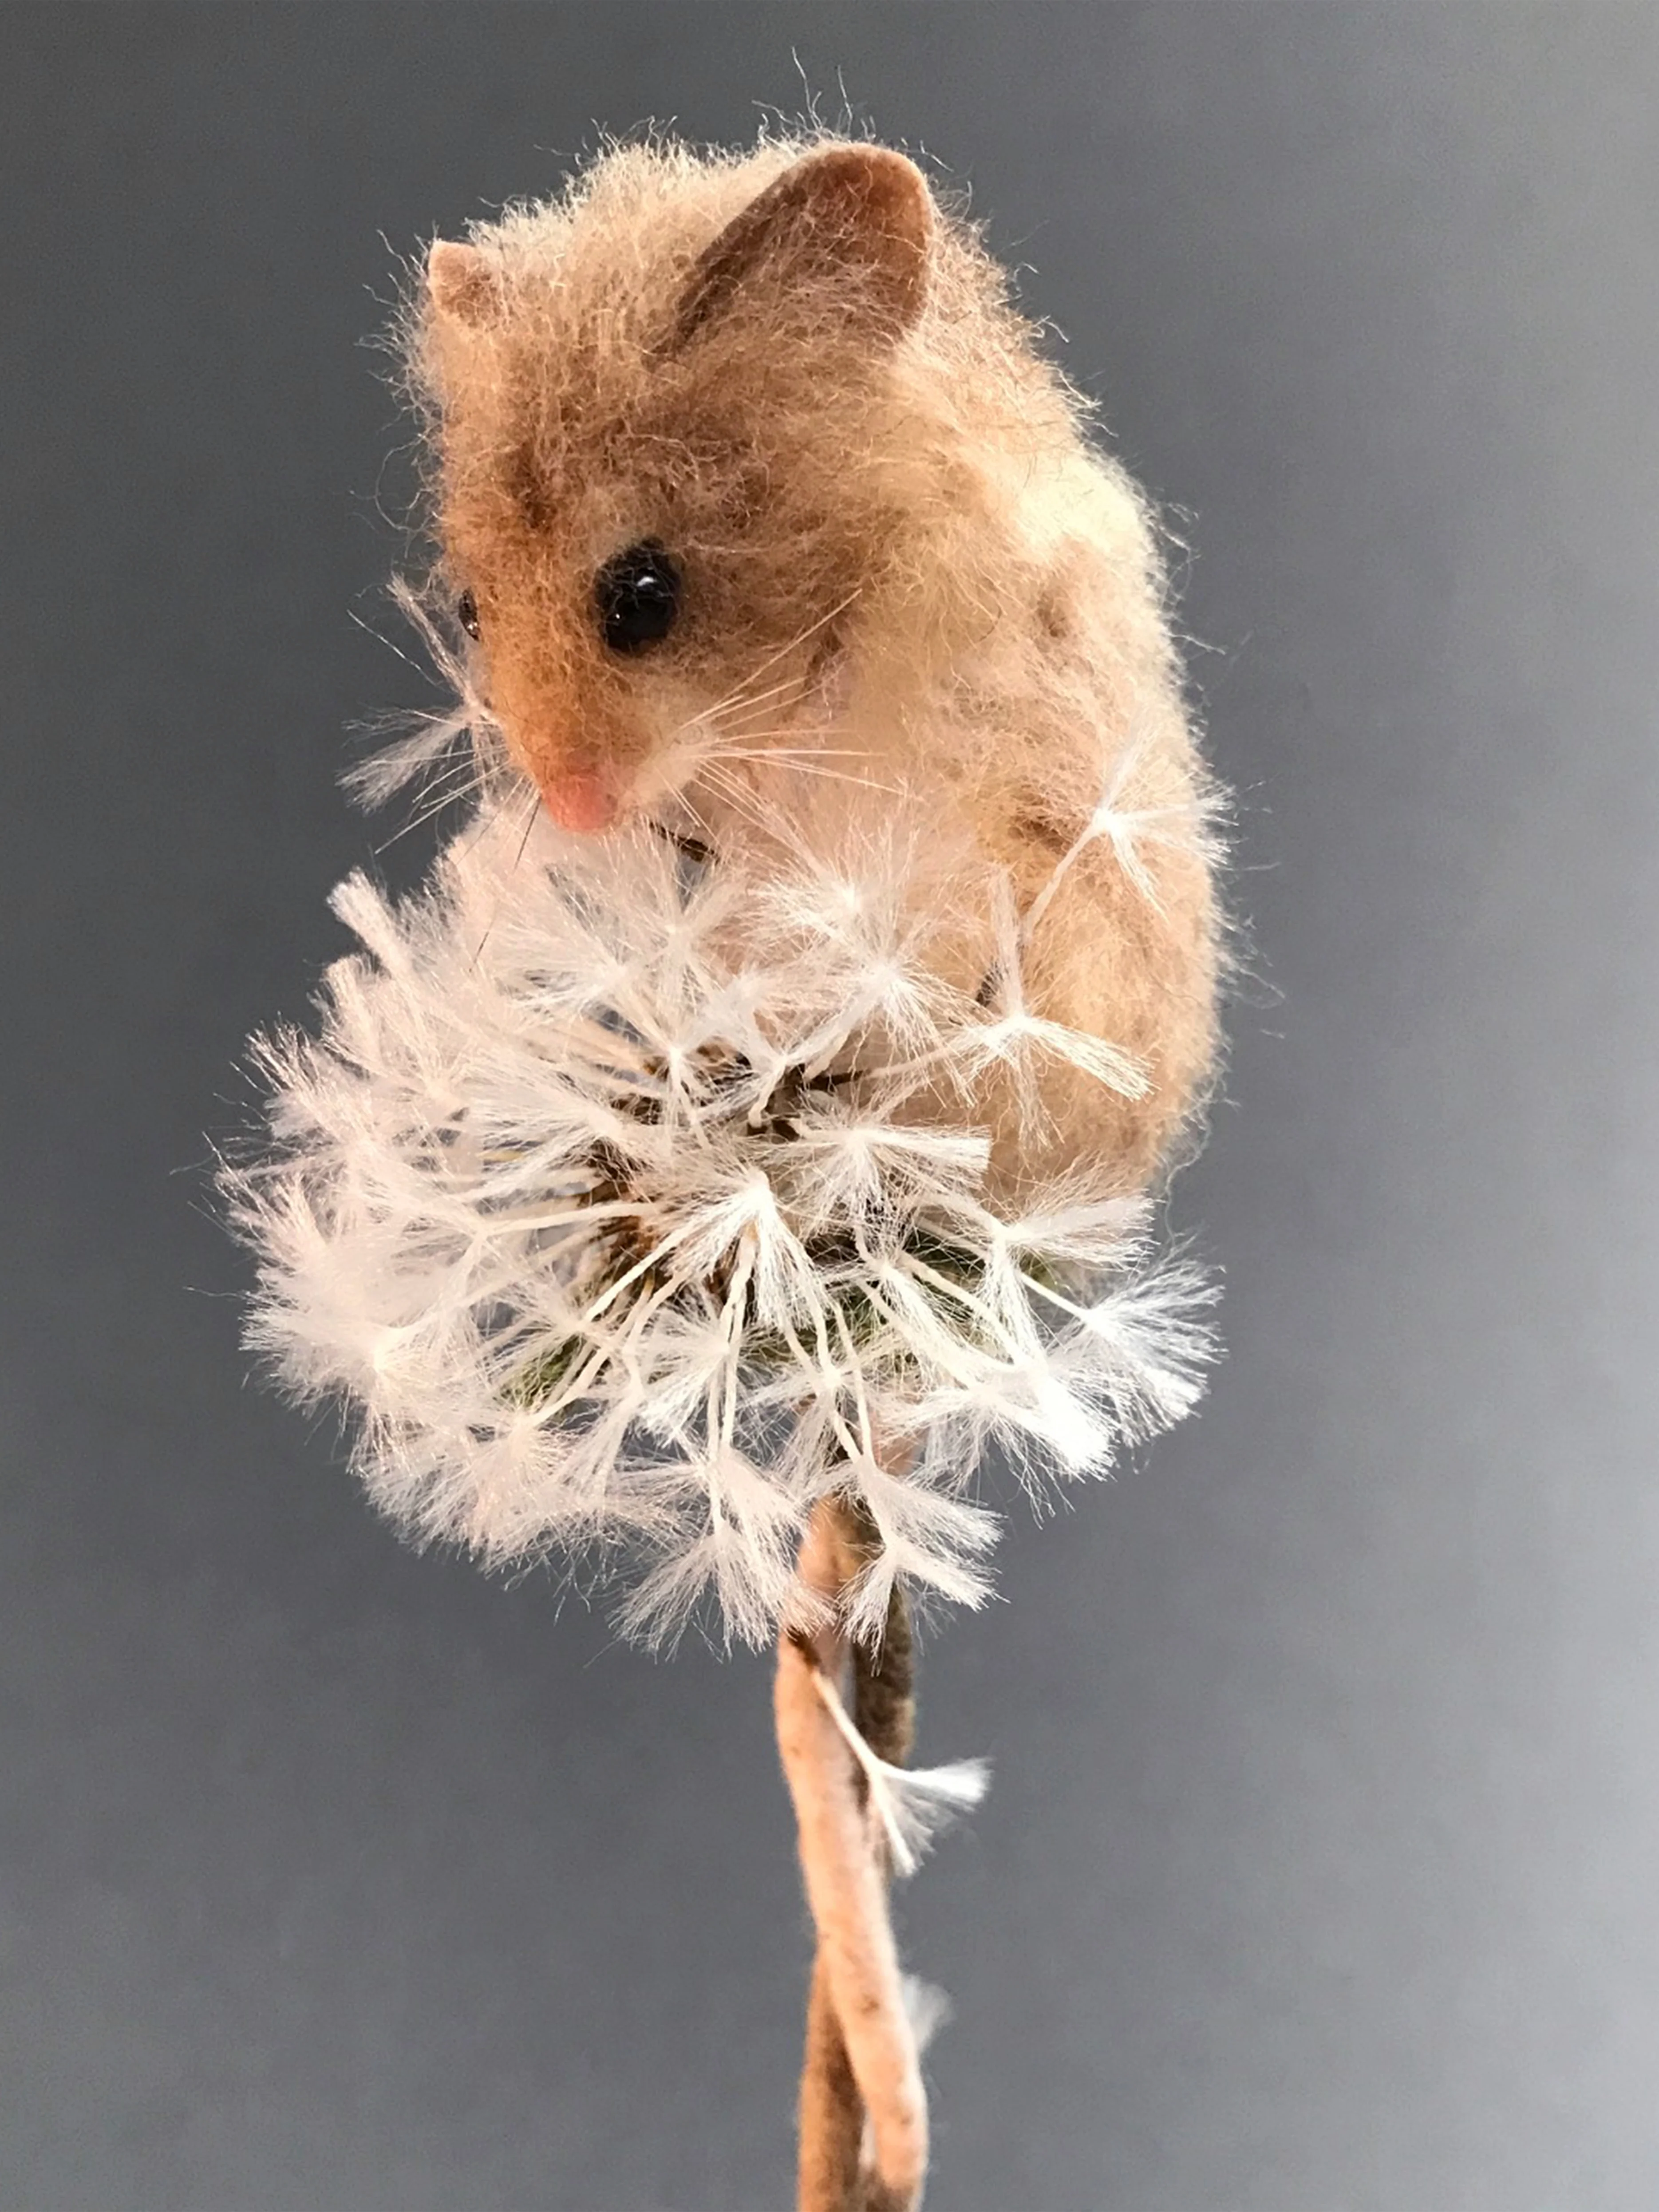
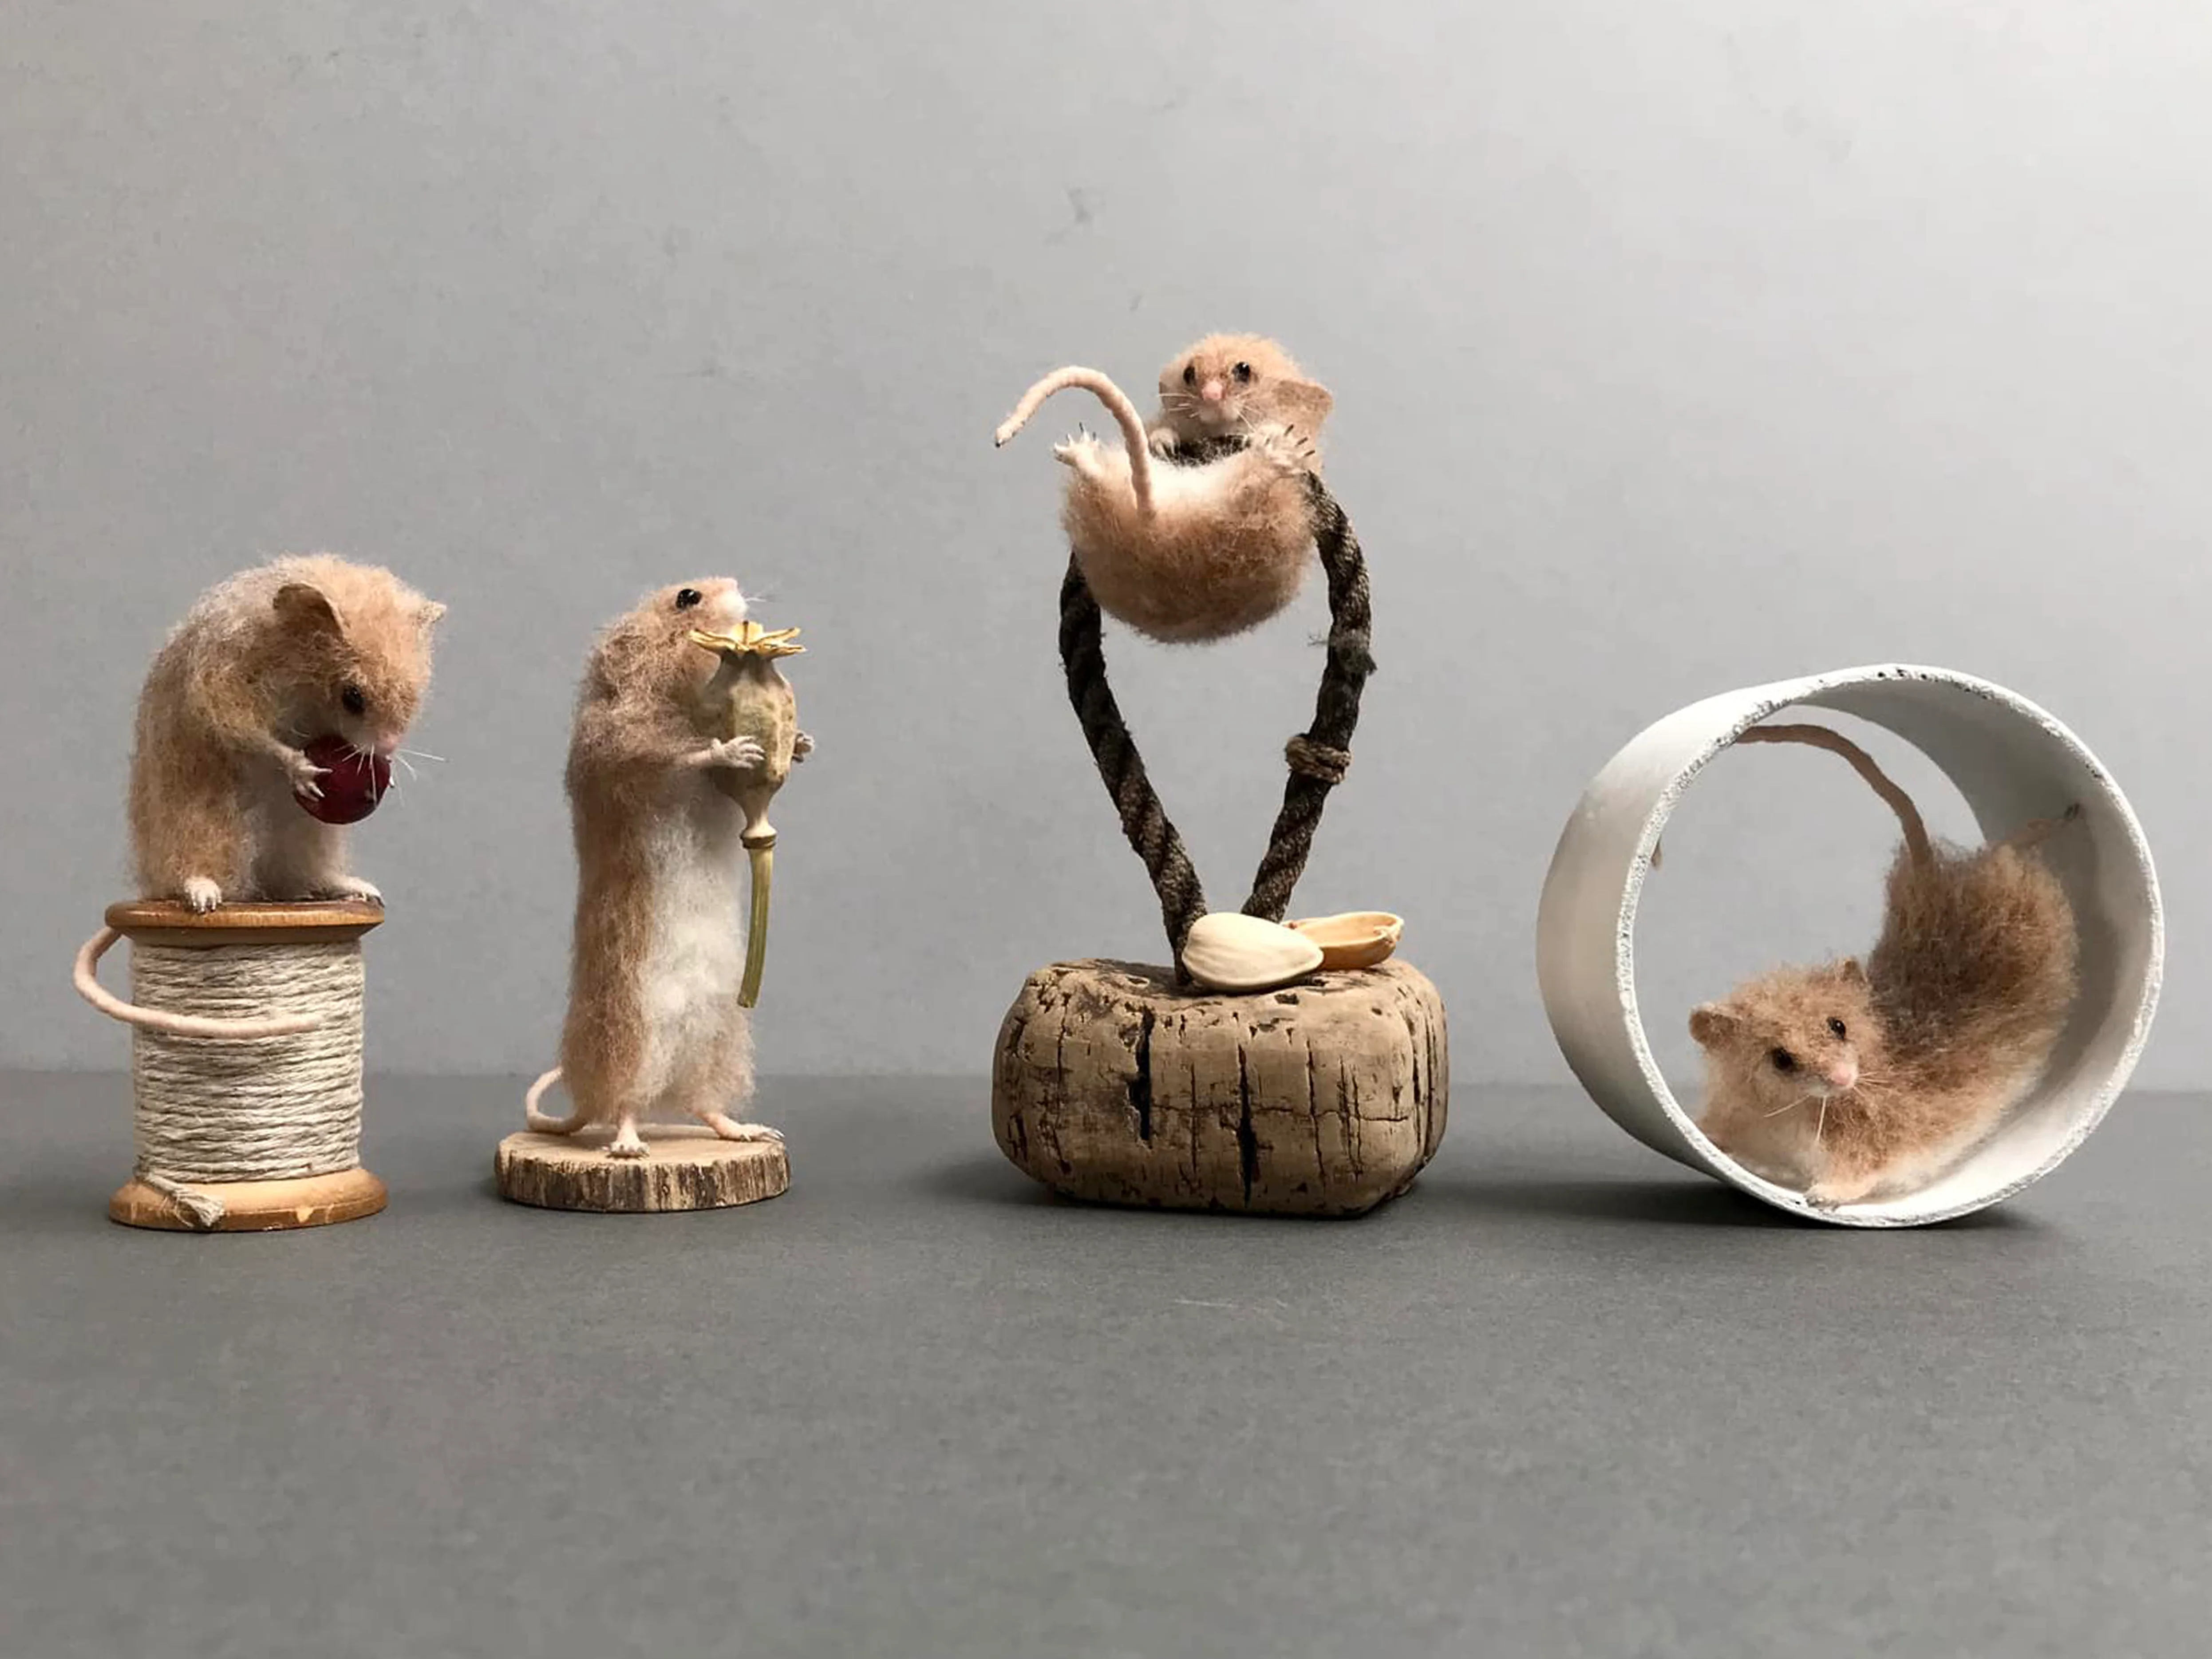
In this video masterclass we explore how to needle felt a Harvest Mouse.
Join award-winning artist, Agnese Davies, in her 5 part Needle Felt Masterclass as she teaches how to create a realistic harvest mouse. Agnese will take you through how to make the mouse step-by-step. With techniques covering 3D shaping, surface decoration and fibre blending.
Your digital download videos will be sent to you automatically via email when you checkout, you will also be sent a PDF email with additional resources. Please check your spam/junk folder if you have not received your files within 15 minutes.
Agnese's Harvest mouse Masterclass List of materials:
- Hamilworth #26 L.36cm Paper covered florist wire
- Round, black 3mm glue in glass eyes
- Glue (PVA glue pen is easiest)
- Pink, hard beeswax (woolly wax)
- Natural beeswax (bars available from bee keepers)
- White nail varnish (I use UV one, but you need UV light for that too)
- Mod-Podge and paint brush for applying (optional as you can just use PVA glue too)
- Cat hair for whiskers (maybe fine dog ones would work too, everyone has a friend
with a short haired cat, don't they?
Wool (you only need small amounts and shades are optional, I mix mine and choose different shades with different mice. 20g of each could make hundreds of mice)
- Core wool- I personally prefer lanolin rich, but use what you are most comfortable
with - White Extra fine merino
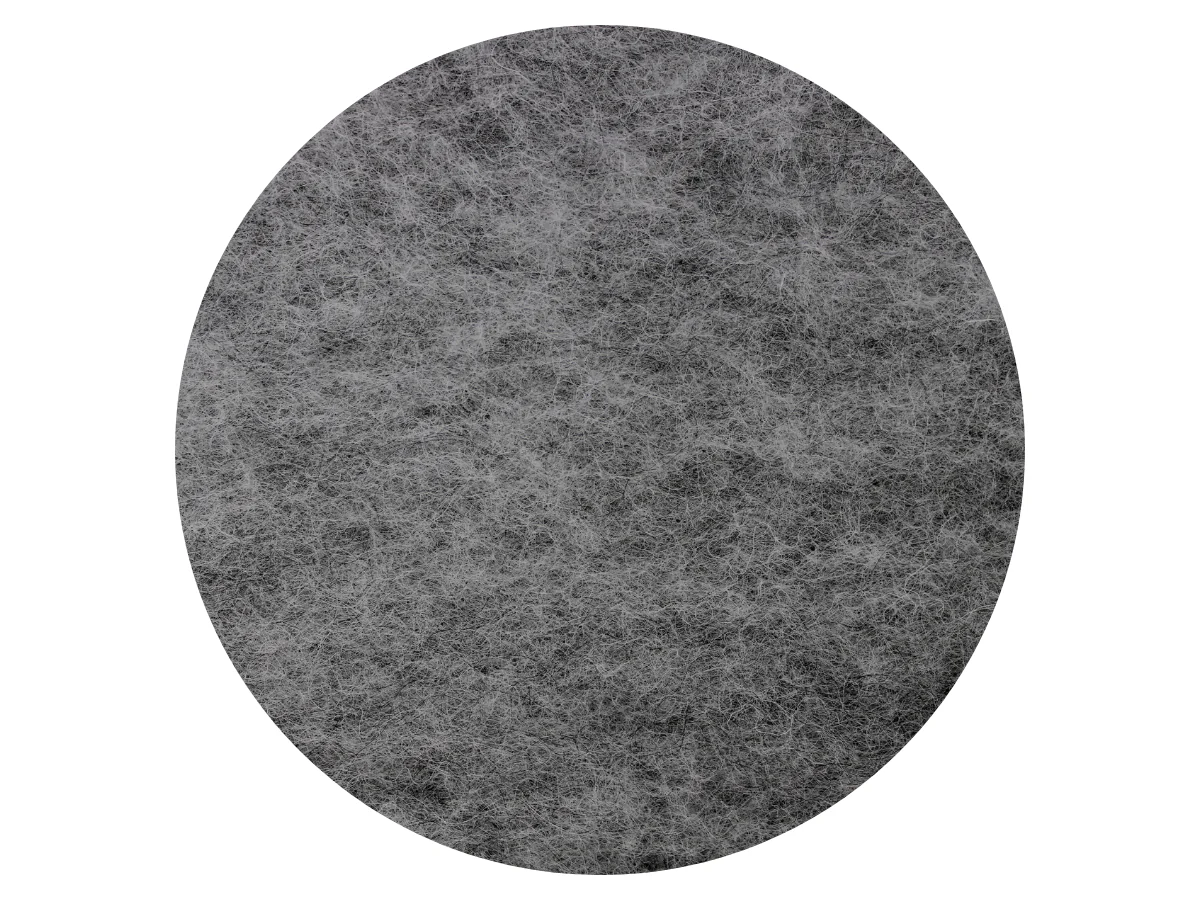
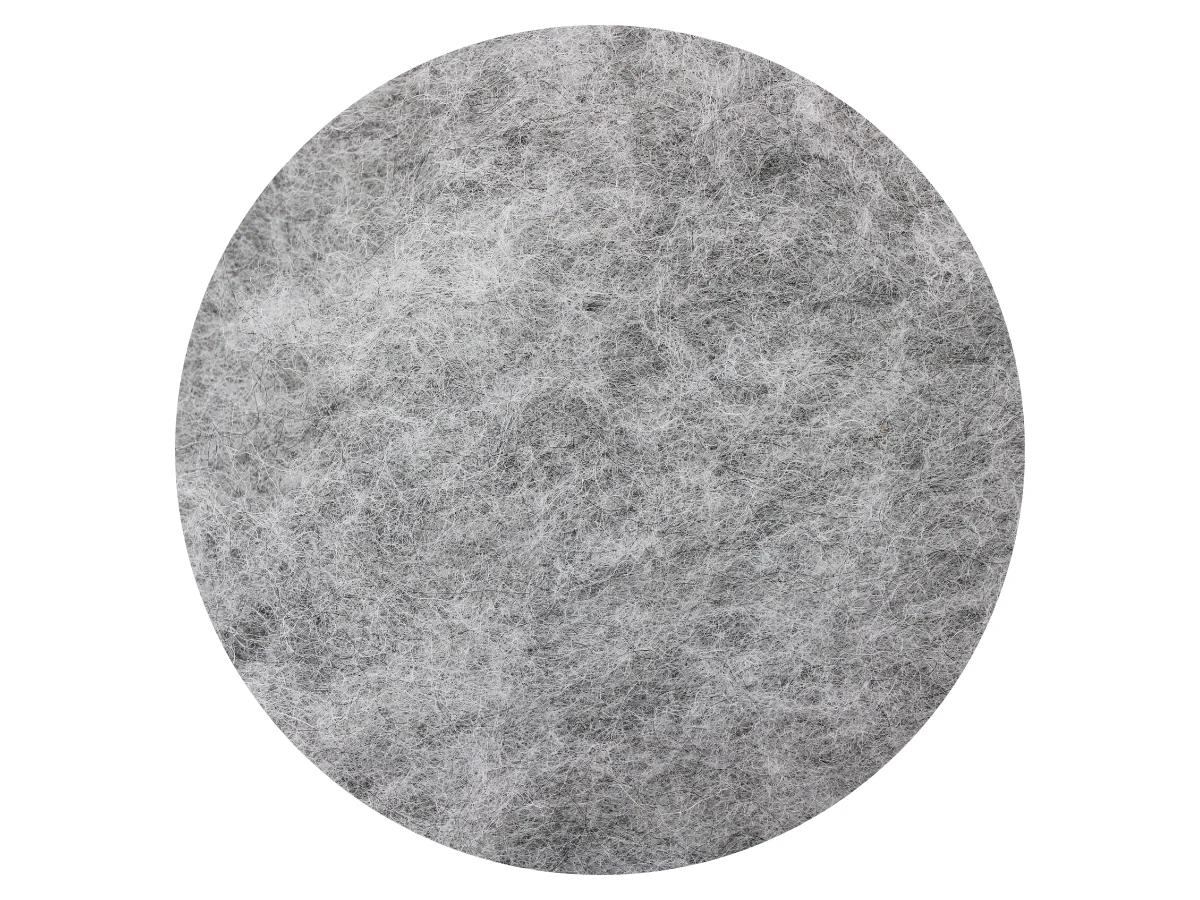
- Light grey Merino roving tops
- Pale brown roving tops
- Beige roving tops
- Medium brown roving tops
- Manx Loaghtan
- Brown roving tops
- Flesh pink tops (for tail and feet)
- Cape merino –natural creamy white short carded batts (for muzzle cheeks and chin)
- Dark brown or black wool for adding shape of the eyes around the black beed- tiny amount.
Additional tools, you may already have some:
- Wax heater
- Hair straighteners
- Pliers
- Wire cutters
- Good scissors
- Tweezers
- Candle and basic metal ball sculpting tools
- Brush matt
- Multiple needle puncher
- Tooth brush- for combing-sorting fur
- Ball end pins –short ones (a helpful guide where to put both ears before felting)
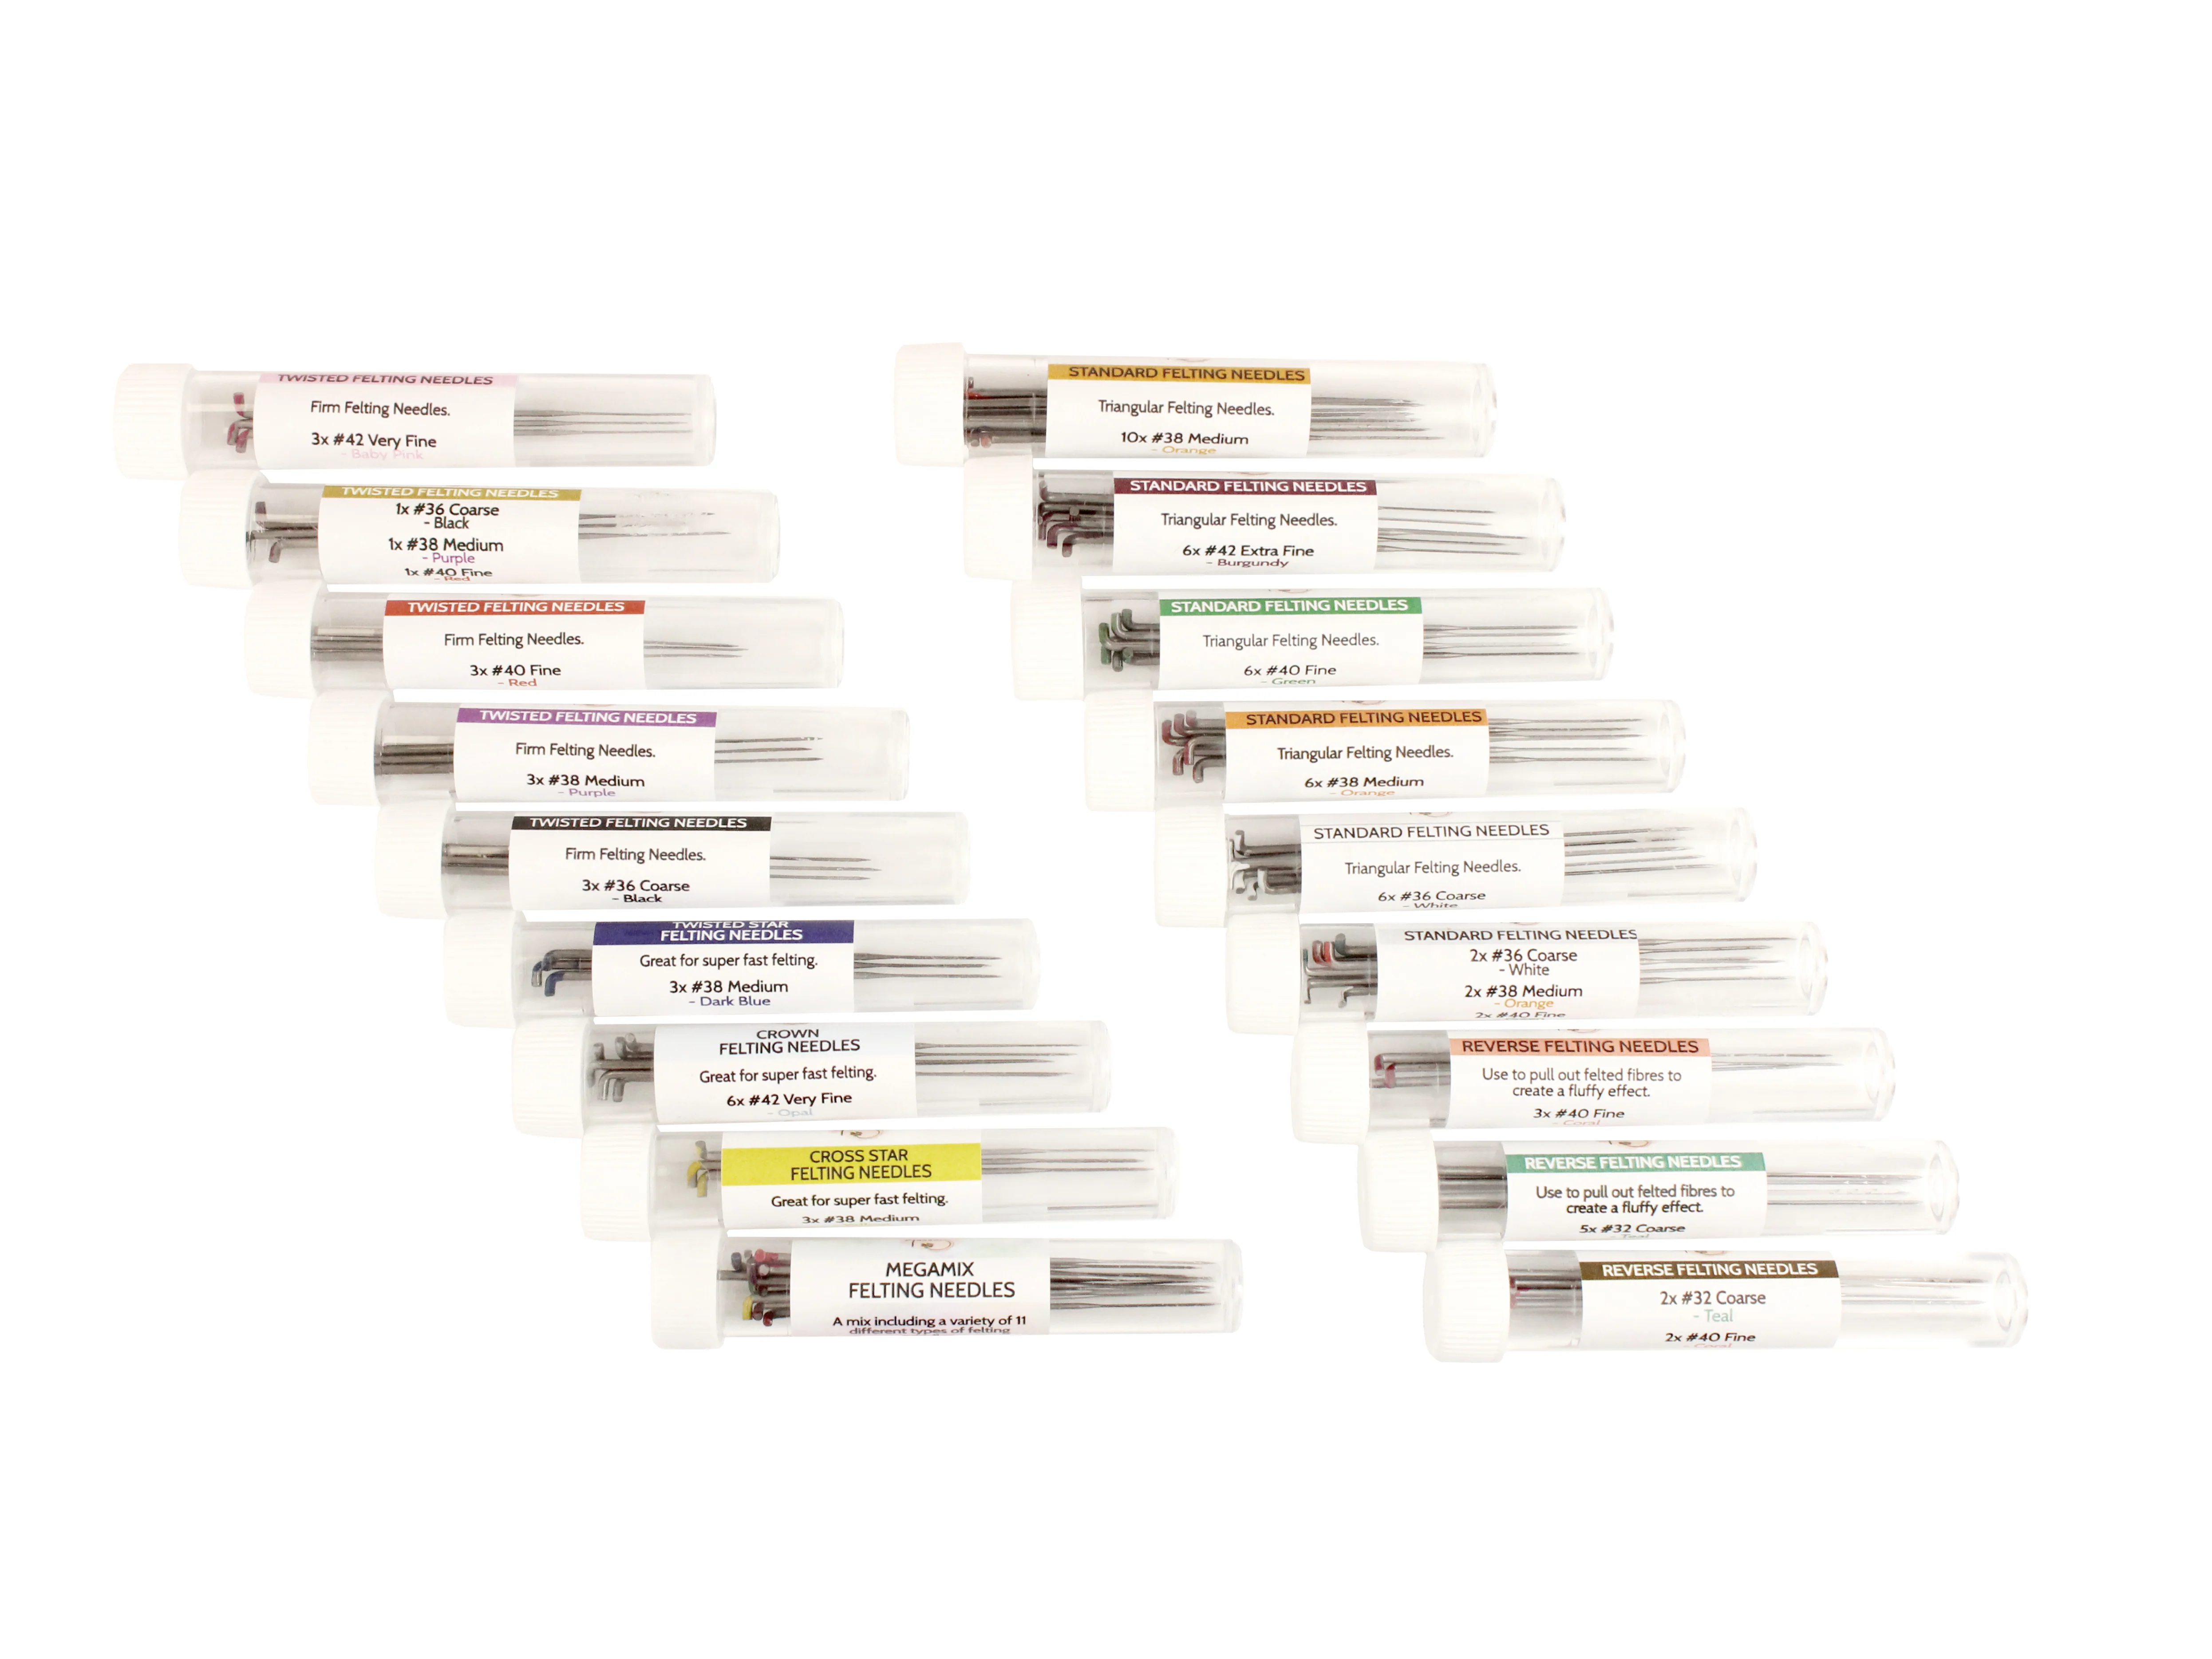
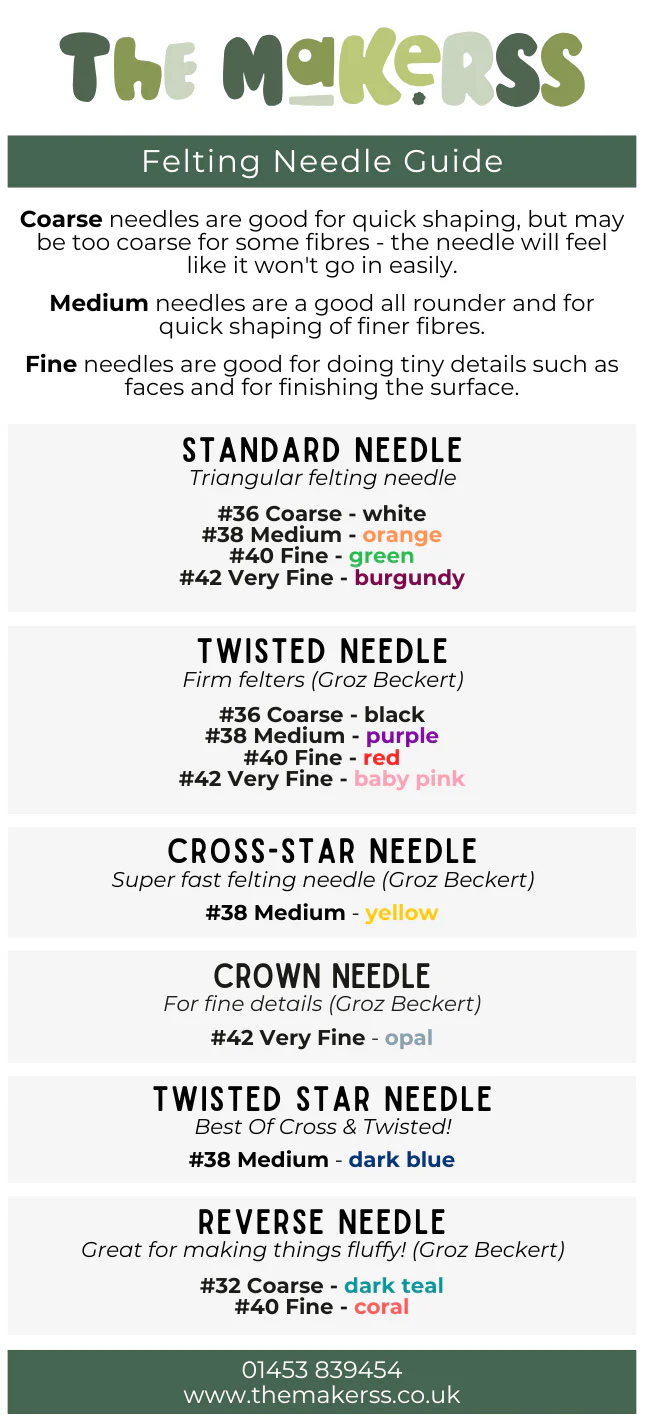
- Your favourite felting needles (of course!)
- Pyrography tool with flat leaf looking tip (as seen in my video Masterclass)
I wish you good luck with the project, for any questions please email me personally at adwoolcraft@gmail.com
Product Information
Product Information
Shipping & Returns
Shipping & Returns
Makerss Masterclass - Harvest Mouse with Agnese Davies
Makerss Masterclass - Harvest Mouse with Agnese Davies
Welcome to our brand new Makerss Masterclass Series!
In this video masterclass we explore how to needle felt a Harvest Mouse.
Join award-winning artist, Agnese Davies, in her 5 part Needle Felt Masterclass as she teaches how to create a realistic harvest mouse. Agnese will take you through how to make the mouse step-by-step. With techniques covering 3D shaping, surface decoration and fibre blending.
Your digital download videos will be sent to you automatically via email when you checkout, you will also be sent a PDF email with additional resources. Please check your spam/junk folder if you have not received your files within 15 minutes.
Agnese's Harvest mouse Masterclass List of materials:
- Hamilworth #26 L.36cm Paper covered florist wire
- Round, black 3mm glue in glass eyes
- Glue (PVA glue pen is easiest)
- Pink, hard beeswax (woolly wax)
- Natural beeswax (bars available from bee keepers)
- White nail varnish (I use UV one, but you need UV light for that too)
- Mod-Podge and paint brush for applying (optional as you can just use PVA glue too)
- Cat hair for whiskers (maybe fine dog ones would work too, everyone has a friend
with a short haired cat, don't they?
Wool (you only need small amounts and shades are optional, I mix mine and choose different shades with different mice. 20g of each could make hundreds of mice)
- Core wool- I personally prefer lanolin rich, but use what you are most comfortable
with - White Extra fine merino
- Light grey Merino roving tops
- Pale brown roving tops
- Beige roving tops
- Medium brown roving tops
- Manx Loaghtan
- Brown roving tops
- Flesh pink tops (for tail and feet)
- Cape merino –natural creamy white short carded batts (for muzzle cheeks and chin)
- Dark brown or black wool for adding shape of the eyes around the black beed- tiny amount.
Additional tools, you may already have some:
- Wax heater
- Hair straighteners
- Pliers
- Wire cutters
- Good scissors
- Tweezers
- Candle and basic metal ball sculpting tools
- Brush matt
- Multiple needle puncher
- Tooth brush- for combing-sorting fur
- Ball end pins –short ones (a helpful guide where to put both ears before felting)
- Your favourite felting needles (of course!)
- Pyrography tool with flat leaf looking tip (as seen in my video Masterclass)
I wish you good luck with the project, for any questions please email me personally at adwoolcraft@gmail.com
Product Information
Product Information
Shipping & Returns
Shipping & Returns
Description
Welcome to our brand new Makerss Masterclass Series!
In this video masterclass we explore how to needle felt a Harvest Mouse.
Join award-winning artist, Agnese Davies, in her 5 part Needle Felt Masterclass as she teaches how to create a realistic harvest mouse. Agnese will take you through how to make the mouse step-by-step. With techniques covering 3D shaping, surface decoration and fibre blending.
Your digital download videos will be sent to you automatically via email when you checkout, you will also be sent a PDF email with additional resources. Please check your spam/junk folder if you have not received your files within 15 minutes.
Agnese's Harvest mouse Masterclass List of materials:
- Hamilworth #26 L.36cm Paper covered florist wire
- Round, black 3mm glue in glass eyes
- Glue (PVA glue pen is easiest)
- Pink, hard beeswax (woolly wax)
- Natural beeswax (bars available from bee keepers)
- White nail varnish (I use UV one, but you need UV light for that too)
- Mod-Podge and paint brush for applying (optional as you can just use PVA glue too)
- Cat hair for whiskers (maybe fine dog ones would work too, everyone has a friend
with a short haired cat, don't they?
Wool (you only need small amounts and shades are optional, I mix mine and choose different shades with different mice. 20g of each could make hundreds of mice)
- Core wool- I personally prefer lanolin rich, but use what you are most comfortable
with - White Extra fine merino
- Light grey Merino roving tops
- Pale brown roving tops
- Beige roving tops
- Medium brown roving tops
- Manx Loaghtan
- Brown roving tops
- Flesh pink tops (for tail and feet)
- Cape merino –natural creamy white short carded batts (for muzzle cheeks and chin)
- Dark brown or black wool for adding shape of the eyes around the black beed- tiny amount.
Additional tools, you may already have some:
- Wax heater
- Hair straighteners
- Pliers
- Wire cutters
- Good scissors
- Tweezers
- Candle and basic metal ball sculpting tools
- Brush matt
- Multiple needle puncher
- Tooth brush- for combing-sorting fur
- Ball end pins –short ones (a helpful guide where to put both ears before felting)
- Your favourite felting needles (of course!)
- Pyrography tool with flat leaf looking tip (as seen in my video Masterclass)
I wish you good luck with the project, for any questions please email me personally at adwoolcraft@gmail.com